Danthree Logo
Content Formats
Creative Direction3D visualization3D modeling3D animationPack shots / CutoutsSurface digitizationAugmented reality (AR)Virtual reality
Industries
Bathroom - ManufacturerMaterial / Surfaces - ManufacturerHome & Living ProductsFurniture - ManufacturerKitchens - ManufacturerUpholstered Furniture - ManufacturerHousehold Appliances - Manufacturer
Projects
Blog
About us
Contact
de
arrow down
enfrit
Home
Content Formats
Projects
Blog
Jobs
About us
Contact
Our solutions for
Bathroom - Manufacturers
Material / Surface - Manufacturers
Home & Living Products
Furniture - Manufacturers
Kitchen - Manufacturers
Upholstered Furniture - Manufacturer
Household Appliances - Manufacturer
Or follow us on:
Instagram IconFacebook IconLinkedIn IconPinterest IconYouTube Icon
Danthree Logo Black

CGI STUDIO FOR FURNITURE, HOME & LIVING

Or follow us on:
Instagram IconFacebook IconLinkedIn IconPinterest IconYouTube Icon
Our solutions for
Bathroom - Manufacturers
Material / Surface - Manufacturers
Home & Living Products
Furniture - Manufacturers
Kitchen - Manufacturers
Upholstered Furniture - Manufacturer
Household Appliances - Manufacturer
GlossaryWhat is a roughness map?

What is a roughness map?

Daniel Schuster
-
Last updated:
December 4, 2025
In this glossary article:
Text Link
Text Link
Text Link
Text Link

CGI Visualization to Perfection

Danthree Studio turns complex 3D tech into high-converting marketing assets. Get high-end quality for your brand.

Start Project
GlossaryWhat is a roughness map?

What is a roughness map?

Daniel Schuster
-
Last updated:
December 4, 2025

‍DefinitionRoughness Map

A roughness map is a gray value texture that is used in physically based rendering (PBR) specifies how strongly light is scattered at each point of a surface.

  • Black / low values → smooth, reflective areas
  • White / high values → rough, diffuse areas


The roughness map thus replaces the previously used "specular gloss value" and ensures that materials react consistently in every HDR lighting setup.


Roughness map examples

Roughness maps determine how strongly light is scattered or reflected on a surface. The brighter the pixel, the more matt the material appears - the darker, the shinier. The following examples show how differently the same principle works:


Bouclé fabric

Light and dark loops alternate - this creates a "blotchy" roughness gradient. In the render, this creates soft highlights on the nodules and more diffuse areas in between.

Roughness map of a coarsely woven bouclé fabric: irregular loops create varied gloss and matt areas.
Bouclé fabric in detail: the roughness map makes loops and knots visible - perfect for soft, woolly upholstery in close-ups and renderings.


Lacquered wood

An almost consistently dark shade of gray: The surface is predominantly smooth and glossy. Microfiber scratches or dust inclusions are coded as slightly lighter speckles and subtly refract the light.
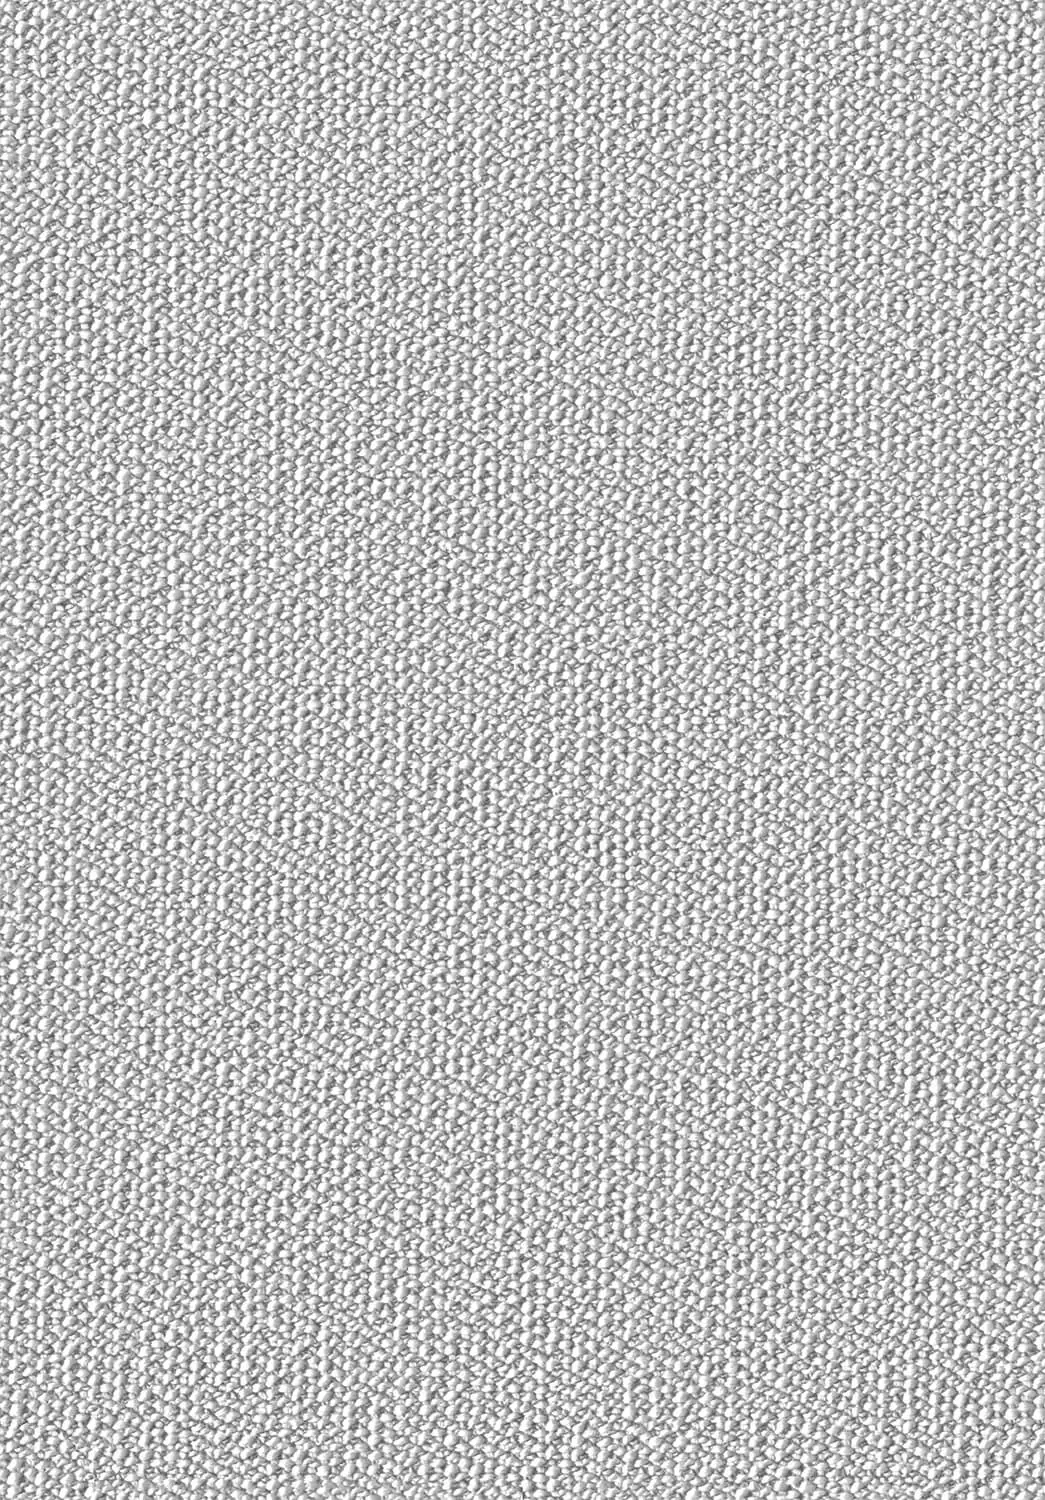
Roughness map of varnished wood with fine scratches - dark gloss varnish, light matt areas for aged reflections.
Lacquered wood with patina: Light scratch marks + dark lacquer create vibrant shiny edges and slight signs of wear in the render.


Fine linen

Uniform medium gray values signal a silky-matt appearance. The weave structure and thread direction are retained without individual fibers becoming shiny - ideal for high-quality home textiles.

Roughness map of a densely woven fabric: light fiber knots, darker hollows - ideal microstructure for realistic light scattering.
Dense micro fabric: The roughness map brings out every fiber and gives upholstery fabrics an authentically rough look. For fabric and material surfaces in particular, it is helpful to check the textures in advance using the checker for tileable textures.
3D Visualization of a bright living room with brown leather sofa and view of the surrounding nature through large windows

From Technical Term to Visual Experience

We don't just use these technologies; we master them. See how we create photorealistic worlds for leading brands.

View Work

How Roughness works in the PBR shader

Gray value Microscopic surface Visual effect
0 - 0,25 almost polished clear reflection, hard highlights
0,25 - 0,5 finely ground soft highlights, slight blurring
0,5 - 0,75 brushed, matt Diffuse reflections, hardly any mirroring
0,75 - 1 sandblasted, cast gray completely matt, light scatters strongly


Note: Roughness only controls the scattering of the reflected light, not the color - that comes from the albedo map. For real height and relief structures (joints, embossing, deep folds), you also need a displacement map.


Typical workflow - Roughness in 5 steps‍
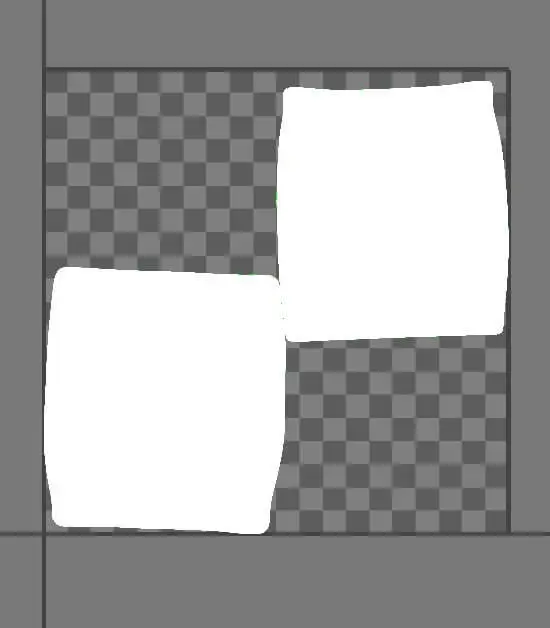
1. check UV setup

Without a clean UV layout (→ UV mapping), you risk stretching and hard transitions in the roughness.

UV layout of a seat cushion without overlaps - the basis for clean roughness maps
Clean UVs: Each island lies without overlaps - so your roughness details later land exactly on the mesh.


Seat cushion with check pattern
Seat cushion with UV check pattern

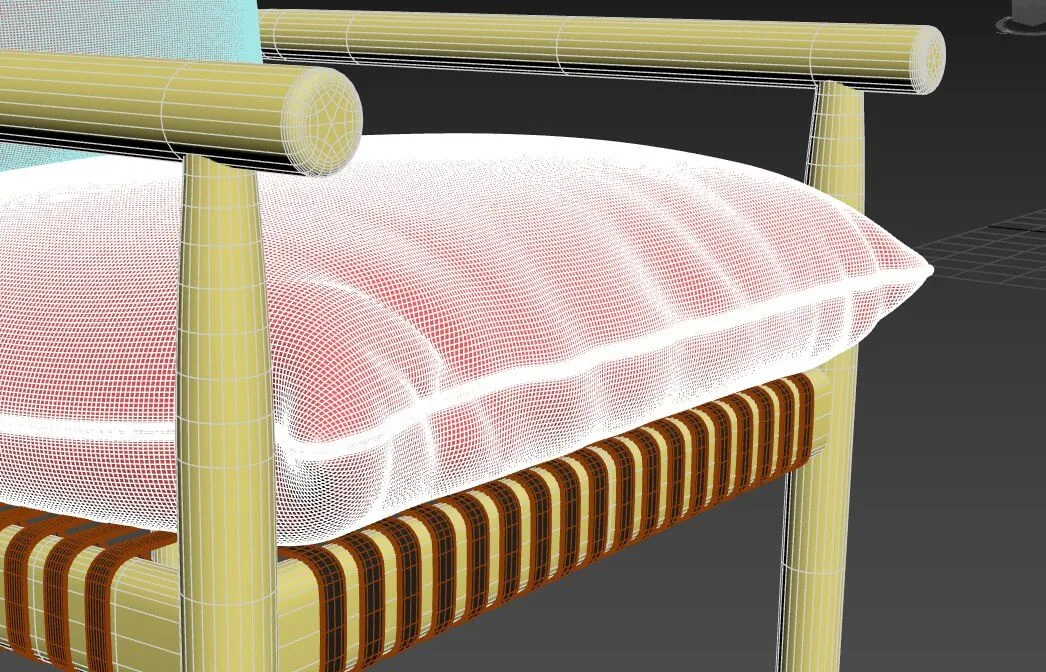
2. capture high-poly details

Sculpt or scan scratches or fiber structures; in Substance 3D Painter, micro-surface details can be painted directly as roughness layers. Adobe Guide

High-poly wireframe of the seat cushion - modeled folds for the subsequent roughness map
High-poly basis: Folds and microstructures are applied to the detailed mesh - this information later migrates to the low-poly geometry as roughness.

3. roughness beacon

Texture baking (→ Texture Baking) transfers the microsection from the high-poly to the low-poly - the perfect basis for consistent materials.

4. tone value correction & gamma

A roughness map must be saved linearly (sRGB off); otherwise halftones will appear too glossy. In contrast to roughness (linear), the albedo / base color map is imported as sRGB/Color.
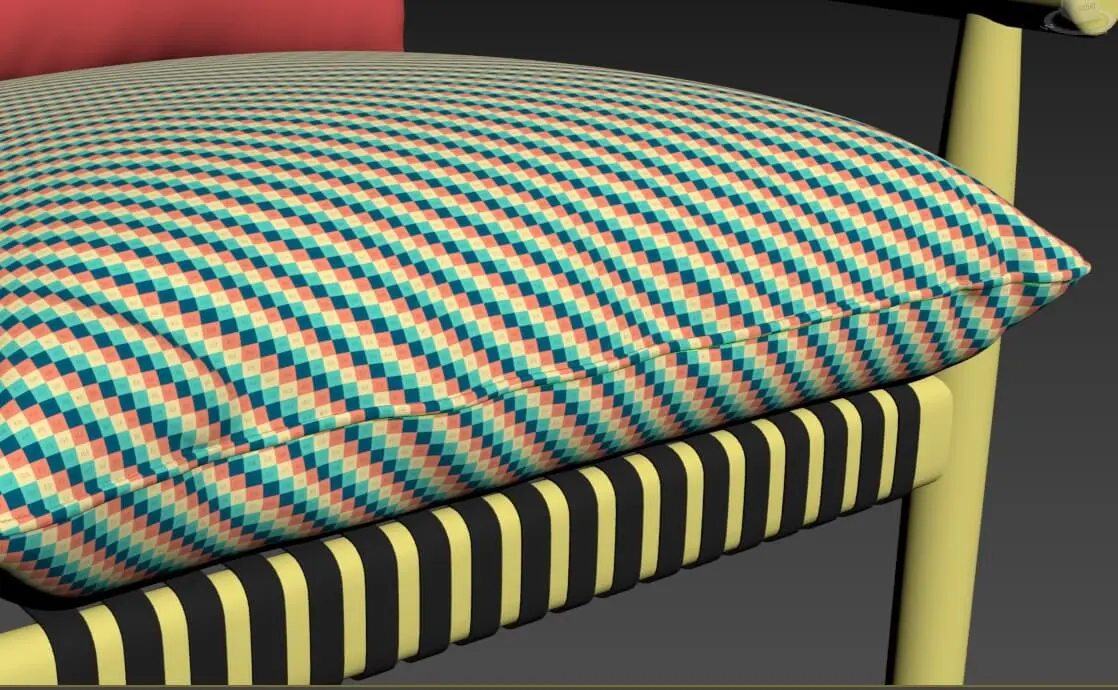
5. QA & brand look

Under CI light setups in Unreal Engine or Three.js check: Does the material remain within the brand guidelines? If necessary, shift roughness slightly using Curve.


Quick Tips from the Trenches

  • Metal vs. dielectric Metals combine Roughness with Metallic-Map, plastic or wood remain at Metallic = 0.
  • Scratch trick Micro scratches look better if you add them in an extra layer as a detail normal map and as a Roughness Mask.
  • Render budget In web viewers, 1024² px is often sufficient; 4 k is better for packshots to avoid banding.


Comparison: Roughness vs. glossiness

Parameters Value range Inverted? Common engines
Roughness 0 (mirror) - 1 (diffuse) no PBR standard (Unreal, Blender Cycles, V-Ray Next)
Glossiness 0 (diffuse) - 1 (mirror) yes (1 - R) ältere Workflows (3ds Max, Unity < 5)


Tip: If your team still uses Glossiness, simply convert the texture using Roughness = 1 - Glossiness.


FAQ - Roughness Map


What exactly does a roughness map regulate?

It determines how strongly light is scattered at each point of a surface - from reflective to matt. You can find a clear graphic in the Spline guide to bump and roughness maps.


How do I switch from "Glossiness" to Roughness in Adobe Dimension?

This can be done using the standard material template. In the "Material Properties" panel, set Glossiness to 0 and add your roughness map (Adobe Dimension - Standard Materials) under Roughness.


How do I export Roughness cleanly from 3ds Max?

Use the "Physical Material": Maps > Roughness > Bitmap and set "Use Roughness". Autodesk explains the workflow step by step (3ds Max Roughness Export).


Do I need special UV maps before baking?

Yes, a clean UV atlas prevents stretching; padding of 8 px prevents bleeding.


Can I create roughness directly during texture baking?

Yes, micro-scratches and wear masks can be output in the roughness with the high-→low bake.


Why does my Roughness look flatter in the web viewer than in the offline render?

Check whether the map was imported as sRGB instead of Linear and whether mip levels filter out the halftones. In Three.js, set texture.encoding = THREE.LinearEncoding.


Can I stack several detailed roughness maps?

Yes, store the basic roughness in the RGB channels and mix a tileable micro roughness as a detail map via shader - this keeps the main texture slim.


Are there "physically correct" roughness ranges?

Metals are usually around 0 - 0.3, plastics around 0.4 - 0.8, cast surfaces up to 1.0. These values provide realistic gloss behavior in PBR engines such as Unreal and V-Ray.

Ready for High-End Results?

Start Project
Danthree Logo

CGI STUDIO for Furniture, Home & Living

Our 3D visualization services

Strategic CGI Consulting &
Visual Design
3D Modeling
3D Visualization
Augmented Reality (AR)
Pack Shots / Clipping
Digitize Surfaces
3D Animation
Virtual reality
AI content scaling

Our solutions for

Bathroom - Manufacturers
Material / Surface - Manufacturers
Home & Living Products
Furniture - Manufacturers
Kitchen - Manufacturers
Upholstered Furniture - Manufacturer
Flooring Manufacturers
Household Appliances - Manufacturer
Bedroom Visualization
Interior / Room Visualization
Living Room Rendering
Garden / Outdoor / Exterior Visualization
3D Visualization Office
3D fireplace & stove rendering
Wall Covering Manufacturer

About us

Projects
Blog
Glossary
Jobs
Contact
About us

Studio Tools

Studio Tools
SKU CGI - Planner
3D Viewer
ROI calculator CGI vs. photo shoot
CO₂/sustainability savings calculator
Before and after image comparison
Checker tileable textures
Motif format & safe area checker
CGI Price Calculator
AR QR Code Generator
Imprint
Privacy Policy
Cookies
Jobs