
What is a displacement map?
CGI Visualization to Perfection
Danthree Studio turns complex 3D tech into high-converting marketing assets. Get high-end quality for your brand.
Discuss your projectWhat is a displacement map?
What is a displacement map?
Displacement moves points on a surface using a texture. A height map describes height values, usually for displacement along the surface normals. Vector displacement also contains direction information. Depending on the application, the mesh is subdivided beforehand or refined during rendering. A high-resolution texture alone does not create sufficiently detailed geometry. Material parameters belong to the PBR workflow; implementation depends on the render engine. The Blender manual for the Displace Modifier gives a specific example.
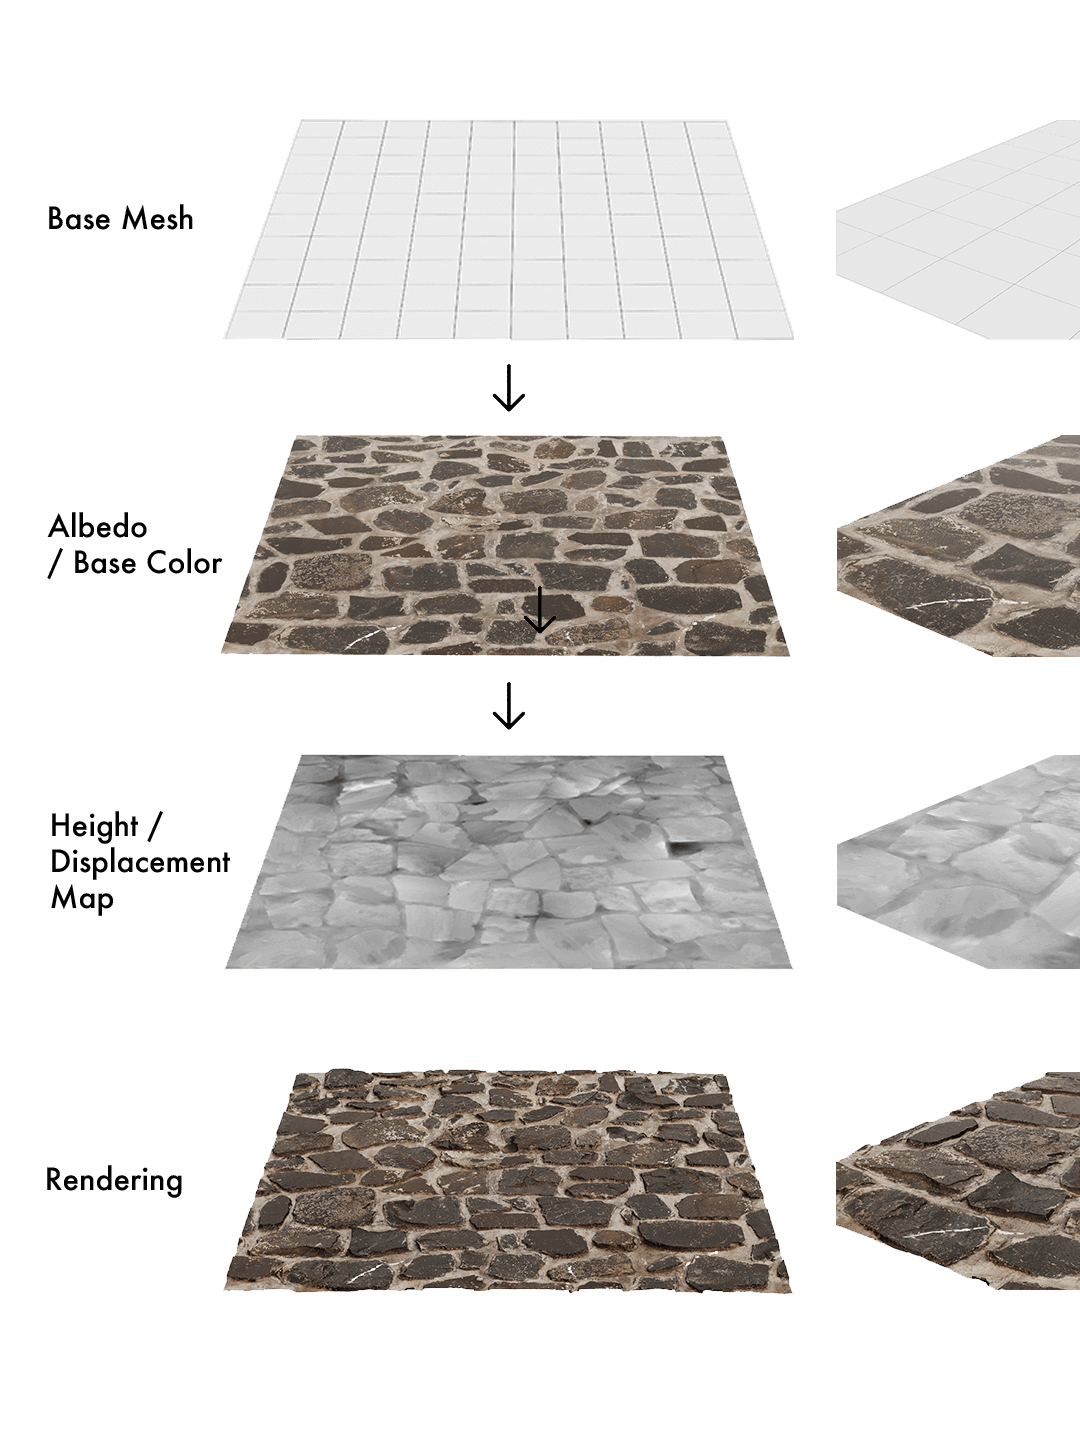
Real-World Examples: Displacement Maps for Wood, Stone, and Fabric

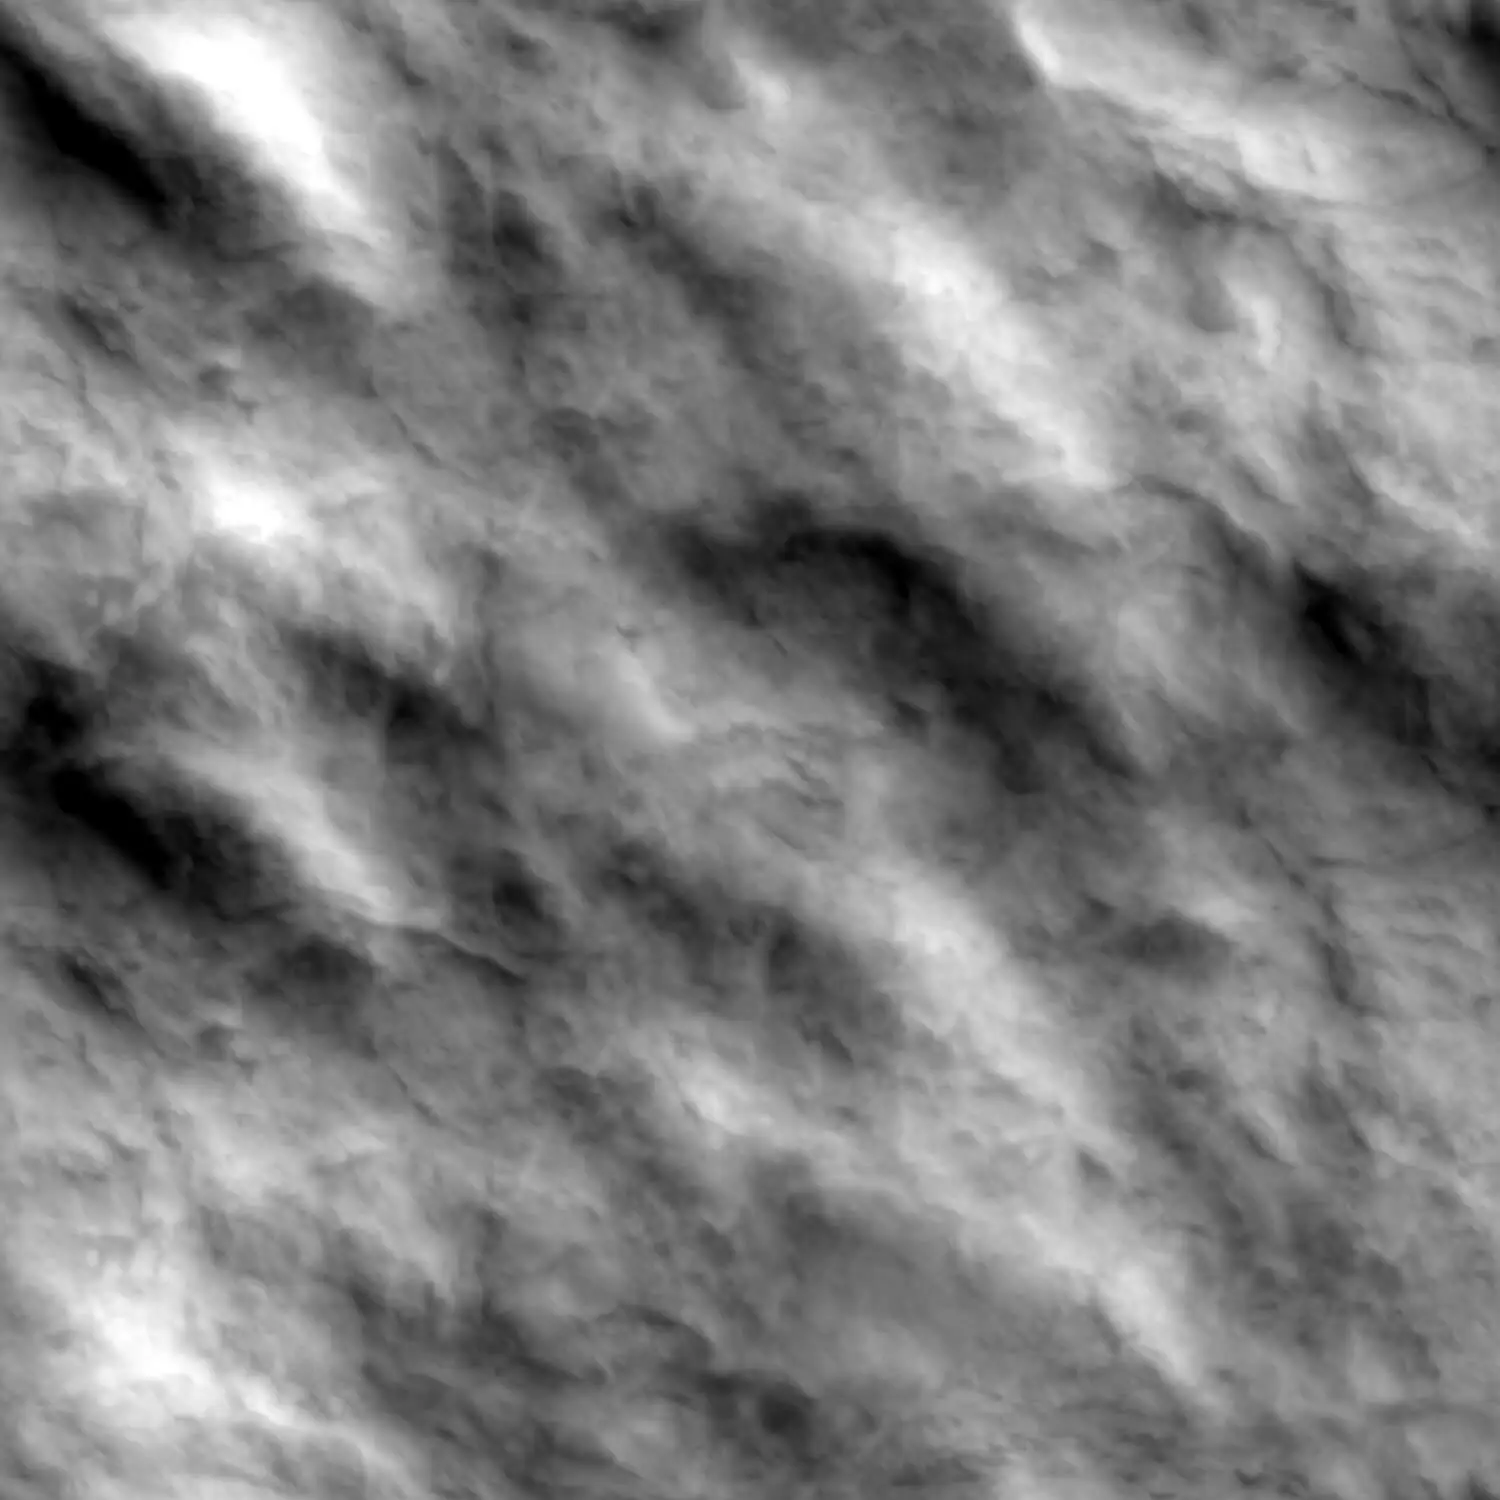
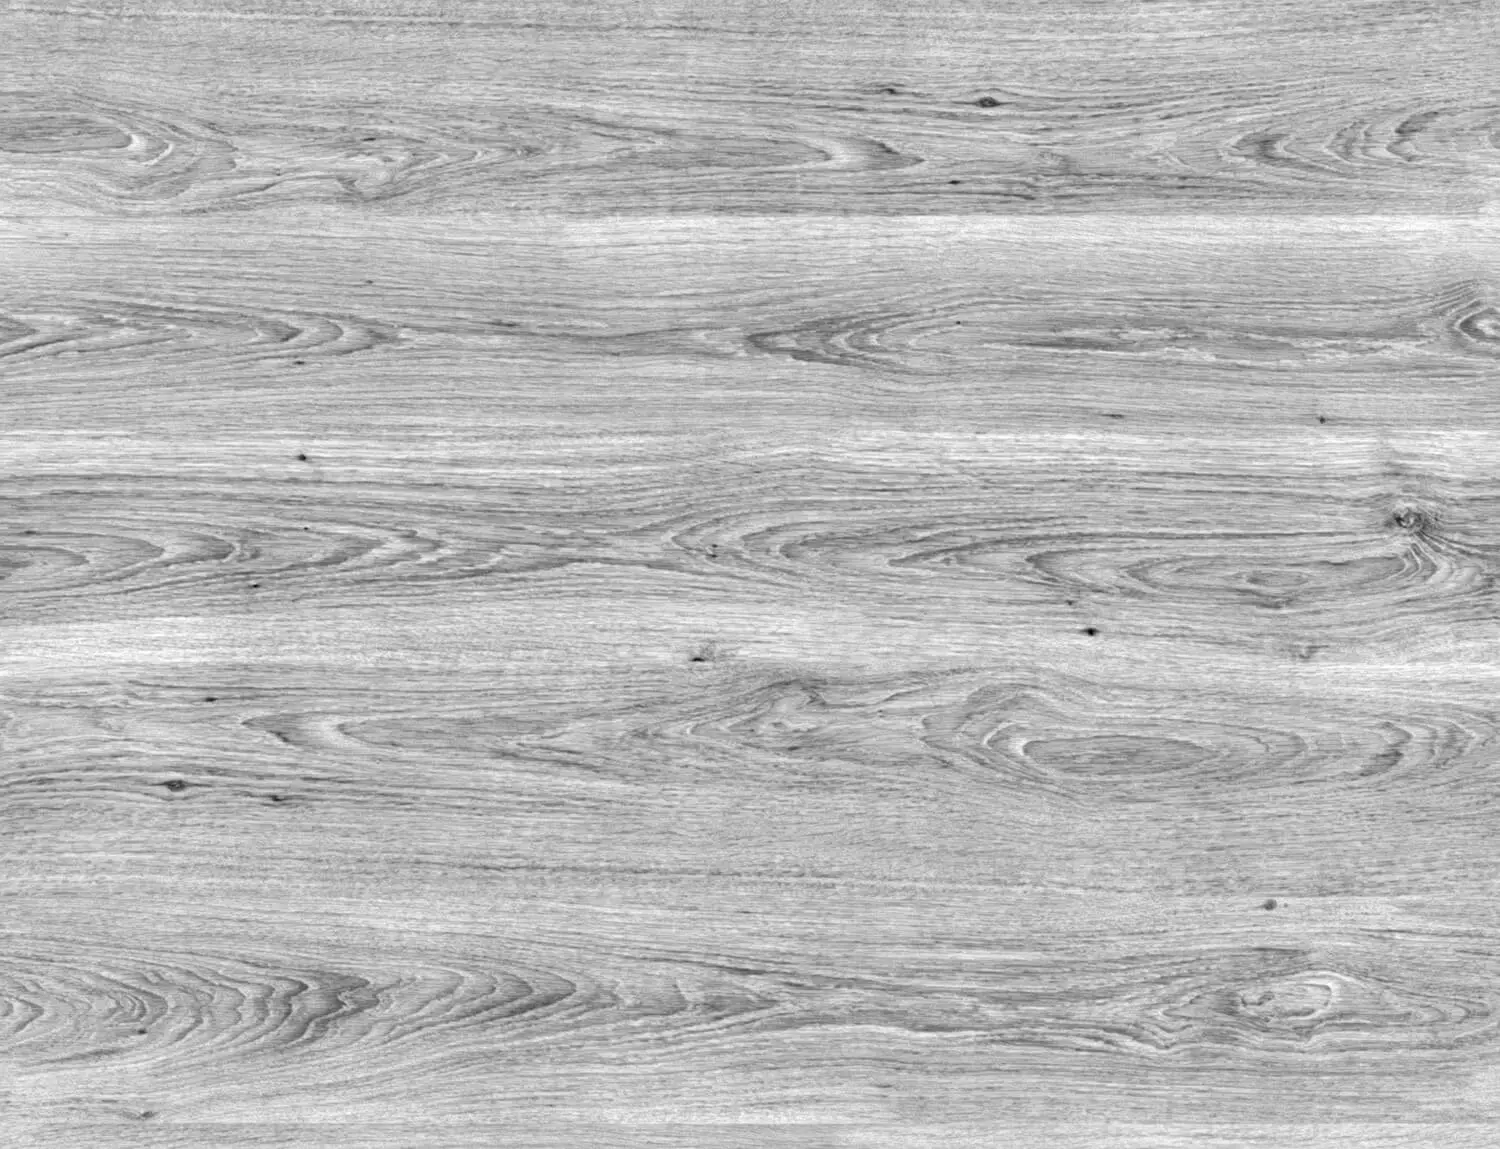
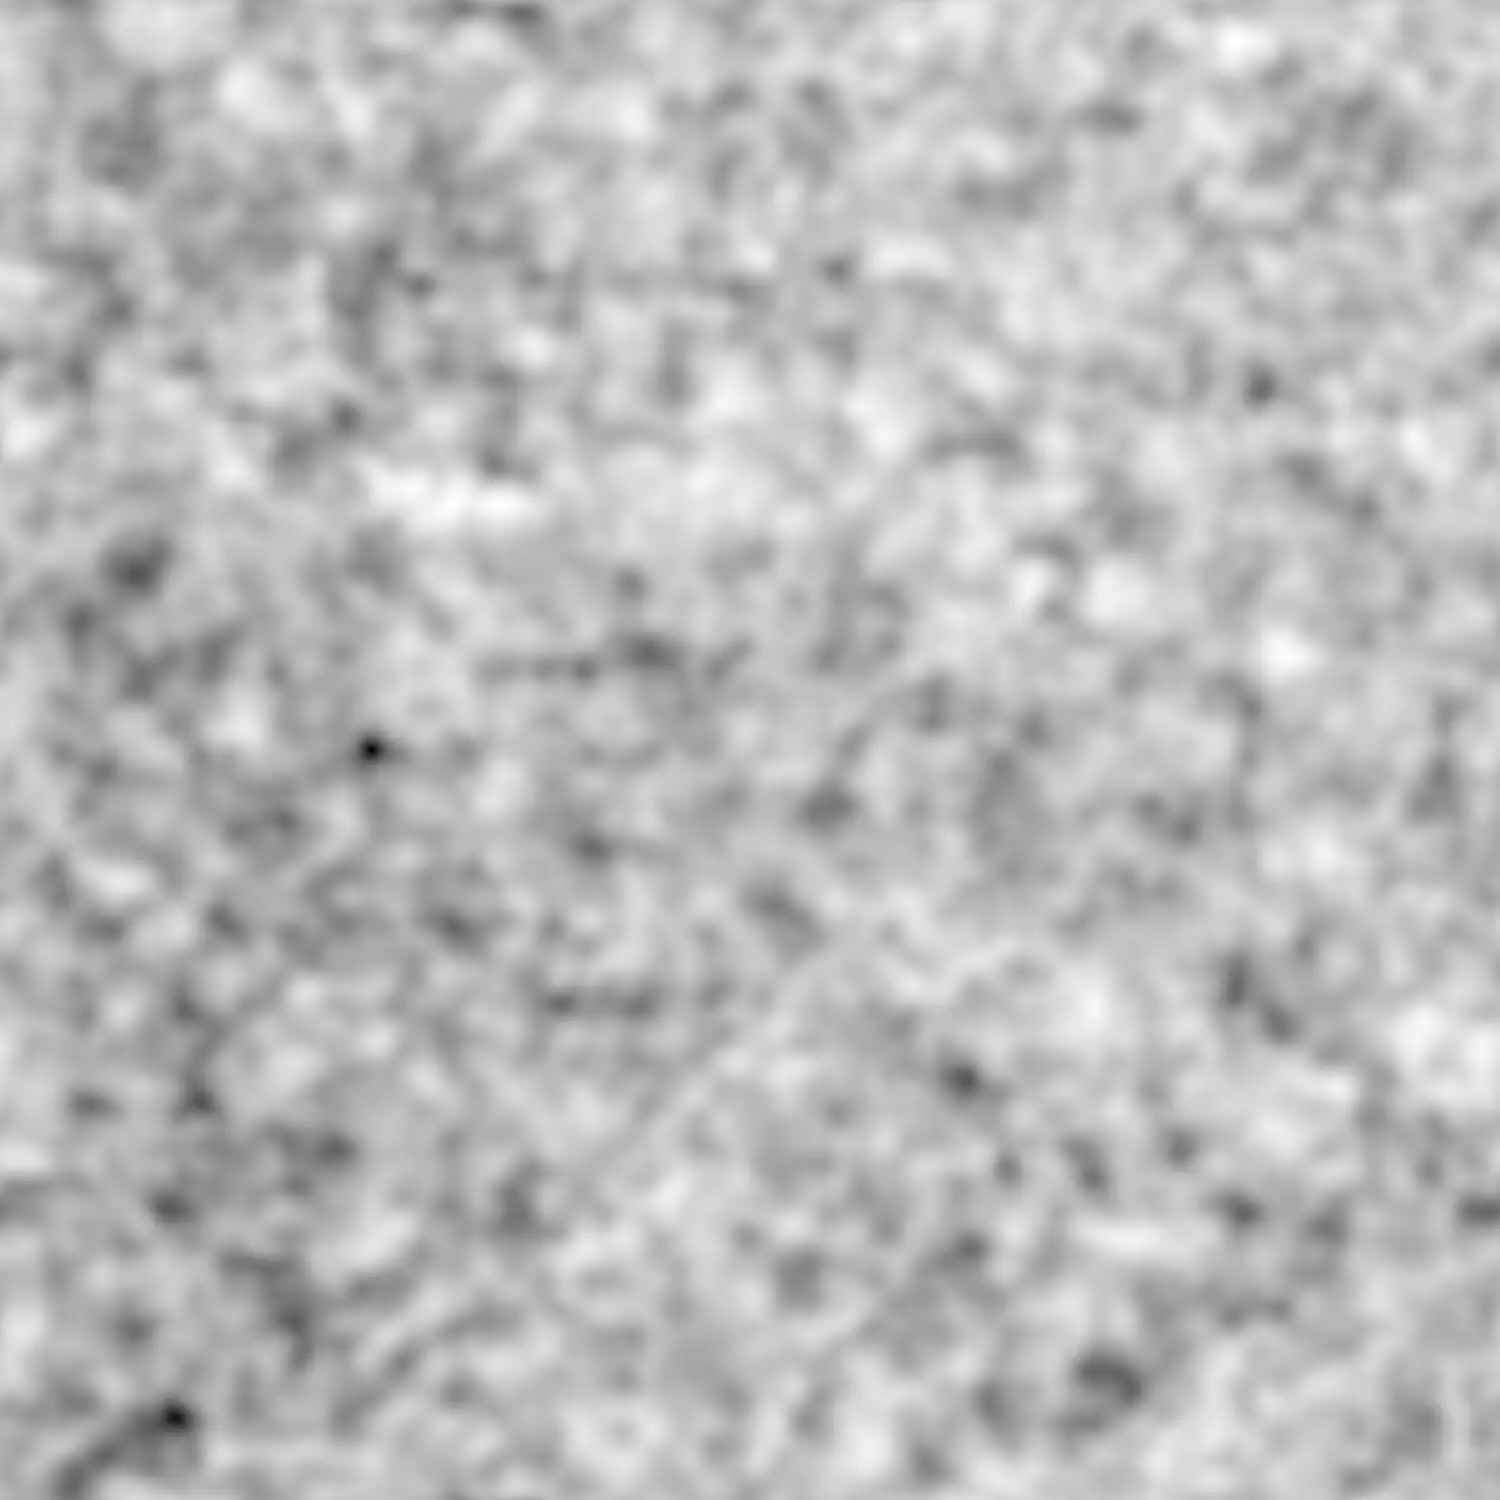
Displacement vs. Normal vs. Bump
| Map Type | What happens | Advantages | Limitations | Typical Uses |
|---|---|---|---|---|
| Bump | Height differences change normals for shading | Fine details without additional geometry | The silhouette remains unchanged | Pores, fine imperfections |
| Normal | RGB values describe normal directions | Can render details of a high-resolution model | No additional geometry or changes to the silhouette | Fabric, lacquer details and baked surface detail |
| Displacement (Height) | Displaces geometry along the normals | Relief can alter the silhouette and shadows | Requires sufficient geometry and computing power | Joints, Stone, Wooden Profiles, Embossing |
| Vector Displacement (RGB) | Moves the surface in multiple directions | Also allows for lateral shapes and overhangs | The coordinate space and renderer must be compatible | Ornaments, complex reliefs, organic forms |

From Technical Term to Visual Experience
We don't just use these technologies; we master them. See how we create photorealistic worlds for leading brands.
View WorkWhy Use Displacement in Brand Communication?
- Show materials in detail: Wood profiles, ceramic edges, and leather embossing can be depicted as three-dimensional structures. It remains crucial to compare them with the actual product.
- Prepare for each output: A material must be tested separately for 3D viewers and augmented reality. The same appearance does not transfer automatically.
- Reuse material data: Matched materials can support multiple images in product visualization. Resolution, lighting and output are checked for each image.
Formats, bit depth & scaling
- Bit depth: For subtle height gradients, 16-bit data or floating-point formats such as EXR are often useful. 8-bit data can produce visible steps. Converting to 32 bits later does not restore lost height gradations.
- Color space: Import height and vector data as data or "Non-Color," without applying a color transformation as you would with an sRGB color texture. Follow the export settings of the tool you are using.
- Units and midlevel: Midlevel defines the neutral value; strength sets the amount of displacement. Match both to scene units, object scale and the material reference.
- UV Mapping: UV mapping must account for scale, distortion, and transitions. UDIM distributes textures across multiple tiles but does not automatically correct stretching or seams.
- Material sources: Height data can come from scans, sculpting or texture baking. For a specific product surface, material digitization using your references can provide a starting point.
Pipeline: Offline Rendering vs. Real-Time
Offline Rendering: Renderers offer different methods for subdividing and displacing the surface. Not every setting is transferable between programs. Check the geometry density, displacement limits, and memory requirements using a test section. Basics: Pixar OpenSubdiv; a specific method: displacement in Blender.
Real-time and web: Normal mapping changes lighting calculations; parallax techniques offset texture sampling. Neither creates an actual silhouette. Unity documents parallax occlusion mapping as a shader technique, but that does not establish support in every web viewer. The core material model in glTF 2.0 has no general-purpose height displacement map. Geometry may therefore need to be generated before export. Test file size and appearance on the target device.
When is vector displacement useful?
- Overhangs and Undercuts: Vector Displacement can represent shapes that cannot be moved solely along the normal. For ornaments or folds, this is an option, not a requirement; direct modeling may be more suitable.
- Creation: Export vector data from a suitable sculpting or baking workflow. Bit depth, neutral value and coordinate space must match the renderer.
- Support: Tangent Space and Object Space describe different reference systems. The Blender manual on Vector Displacement explains the differences. Check for support in your target system.
A practical workflow
- Base mesh and UVs: Prepare the shape, scale and texture coordinates. Larger forms may be better created directly through 3D modeling.
- Height source: Check scan, sculpt or baked data against the product reference.
- Data export: Choose suitable bit depth and lossless output; read height values without a color transformation.
- Geometry and strength: Adjust subdivision, neutral value and displacement amount in the renderer.
- Comparison: Evaluate the same scene using normal mapping and true displacement. Weigh the visible difference against render time and memory requirements.
- Test images: Check silhouette, joints, self-shadowing and texture transitions at the intended resolution. For animations, check a short sequence too; a single frame cannot reveal temporal flicker.
Displacement Troubleshooting (Symptom → Cause → Fix)
| Symptom | Possible cause | First check | Further adjustments |
|---|---|---|---|
| Banding / steps | Limited height accuracy, color transformation, or overly coarse geometry | Check source data, data color space, and geometry separately | Regenerate height data from the higher-resolution source if needed |
| Bulging Surfaces | Incorrect neutral value or displacement scale | Compare midlevel and strength with the export specification | Take Scene Units and Object Transformations into Account |
| Cracks at UV seams | Different height values or disconnected geometry | Check Edge Values, Texture Edges, and Mesh Connections | Match baking, texture padding and filtering |
| Flickering Shadows | Inadequate geometry, sampling, or unstable rendering of details | Render a short sequence with controlled settings | Adjust the subdivision, sampling, and detail frequency for the output |
| Shifting Texture During Animation | Incorrect texture coordinates or varying levels of detail | Check UVs, object movement, and texture space | Stabilize coordinates; test filtering and detail levels during the process |
| High memory requirements / long rendering time | Excessively dense subdivision or unnecessary geometry over large areas | Compare the processing cost of individual objects and settings | Use geometry where it is visible in the subject |
| No change in the silhouette | Only bump/normal mapping active, low strength or a coarse mesh | Check Displacement Mode, Scale, and Geometry | Use supported true displacement or modeled geometry |
| Jagged diagonal edges | Insufficient texture or geometry resolution | Check texture sampling and mesh resolution separately | Adjust the level of detail to match the frame and output resolution |
When should you use displacement?
Displacement is worth considering if relief, joints, or edges in the image are actually visible as three-dimensional forms. The camera's proximity and the output resolution are more important here than a blanket promise of quality.
Normal or bump mapping may be sufficient when only subtle lighting changes are visible. For real-time applications, check support and performance in the target system. Larger shapes can also be modeled directly.
Practical applications
- Ceramics and bathroom products: Embossing and surface relief as part of material and surface visualization.
- Wood and Panels: Profiles, joints, and textured surfaces. For glTF/GLB, check the viewer's geometry and material support.
- Upholstery and leather: Build embossing, folds and quilting to match the product. Depending on the form, modeling, displacement or normal mapping may be suitable for product visualization.
Displacement map FAQ
Does displacement replace my normal map?
Not necessarily. Displacement changes the geometry; normal mapping affects the lighting calculation without adding additional geometry. The two can complement each other. Which combination makes sense depends on the shapes and details that will be visible in the final image.
What bit depth should I use?
For subtle height gradients, 16-bit or floating-point data is often useful. 32 bits are not always required. Source precision, displacement strength and renderer support are what matter. Saving an 8-bit file as a 32-bit EXR later does not restore lost details.
How much subdivision is enough?
Enough so that the required shape is rendered with sufficient resolution in the intended image. Camera distance, relief, and output resolution all affect the requirements. Adaptive methods can adjust the subdivision to fit the view. Check the result and the memory requirements in the renderer you are using.
Is displacement useful on the web?
Only if the viewer supports it and the visible benefit justifies the effort. The core material model in glTF 2.0 has no general-purpose height displacement map. Geometry generated before export may be an alternative. Normal and parallax techniques do not change the actual silhouette; their support and performance must also be checked.
What is the difference between height displacement and vector displacement?
Height Displacement uses a single height value, typically for displacement along the surface normal. Vector Displacement describes multiple directional components and can therefore create lateral shapes or overhangs. The coordinate space and data interpretation must be consistent between the creation process and the renderer.
How do I prevent light leaks in joints?
First check whether the geometry is closed and adjacent edges meet. Then check height values at UV seams, subdivision, midlevel, scale and filtering. No single control fixes every cause. A test from the intended camera angle shows whether the correction is sufficient.