What is UV mapping (UV unwrapping)?
CGI Visualization to Perfection
Danthree Studio turns complex 3D tech into high-converting marketing assets. Get high-end quality for your brand.
Start ProjectWhat is UV mapping (UV unwrapping)?
Definition UV Mapping
UV mapping (or UV unwrapping) refers to the unwrapping of the 3D surface of a model in a flat 2D coordinate system. The letters U and V stand for the axis names of the texture surface (X / Y are already assigned in the model). Textures are only created through correct UV mapping, normal maps, light maps, metalness map and other baked maps get their correct position - without distortions, overlaps or visible edges.
Why is clean UV mapping so important?

From Technical Term to Visual Experience
We don't just use these technologies; we master them. See how we create photorealistic worlds for leading brands.
View WorkCorrect vs. incorrect UV maps - practical example
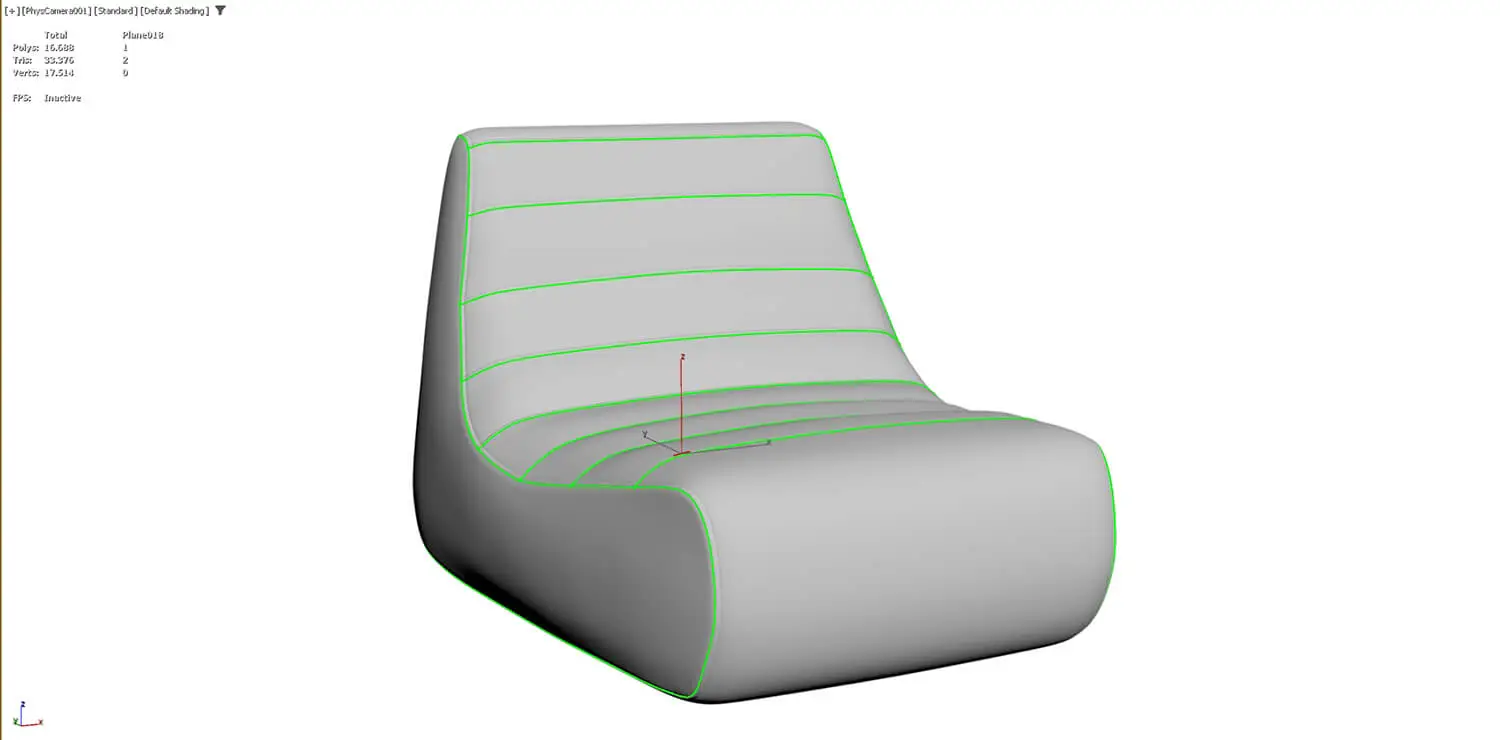
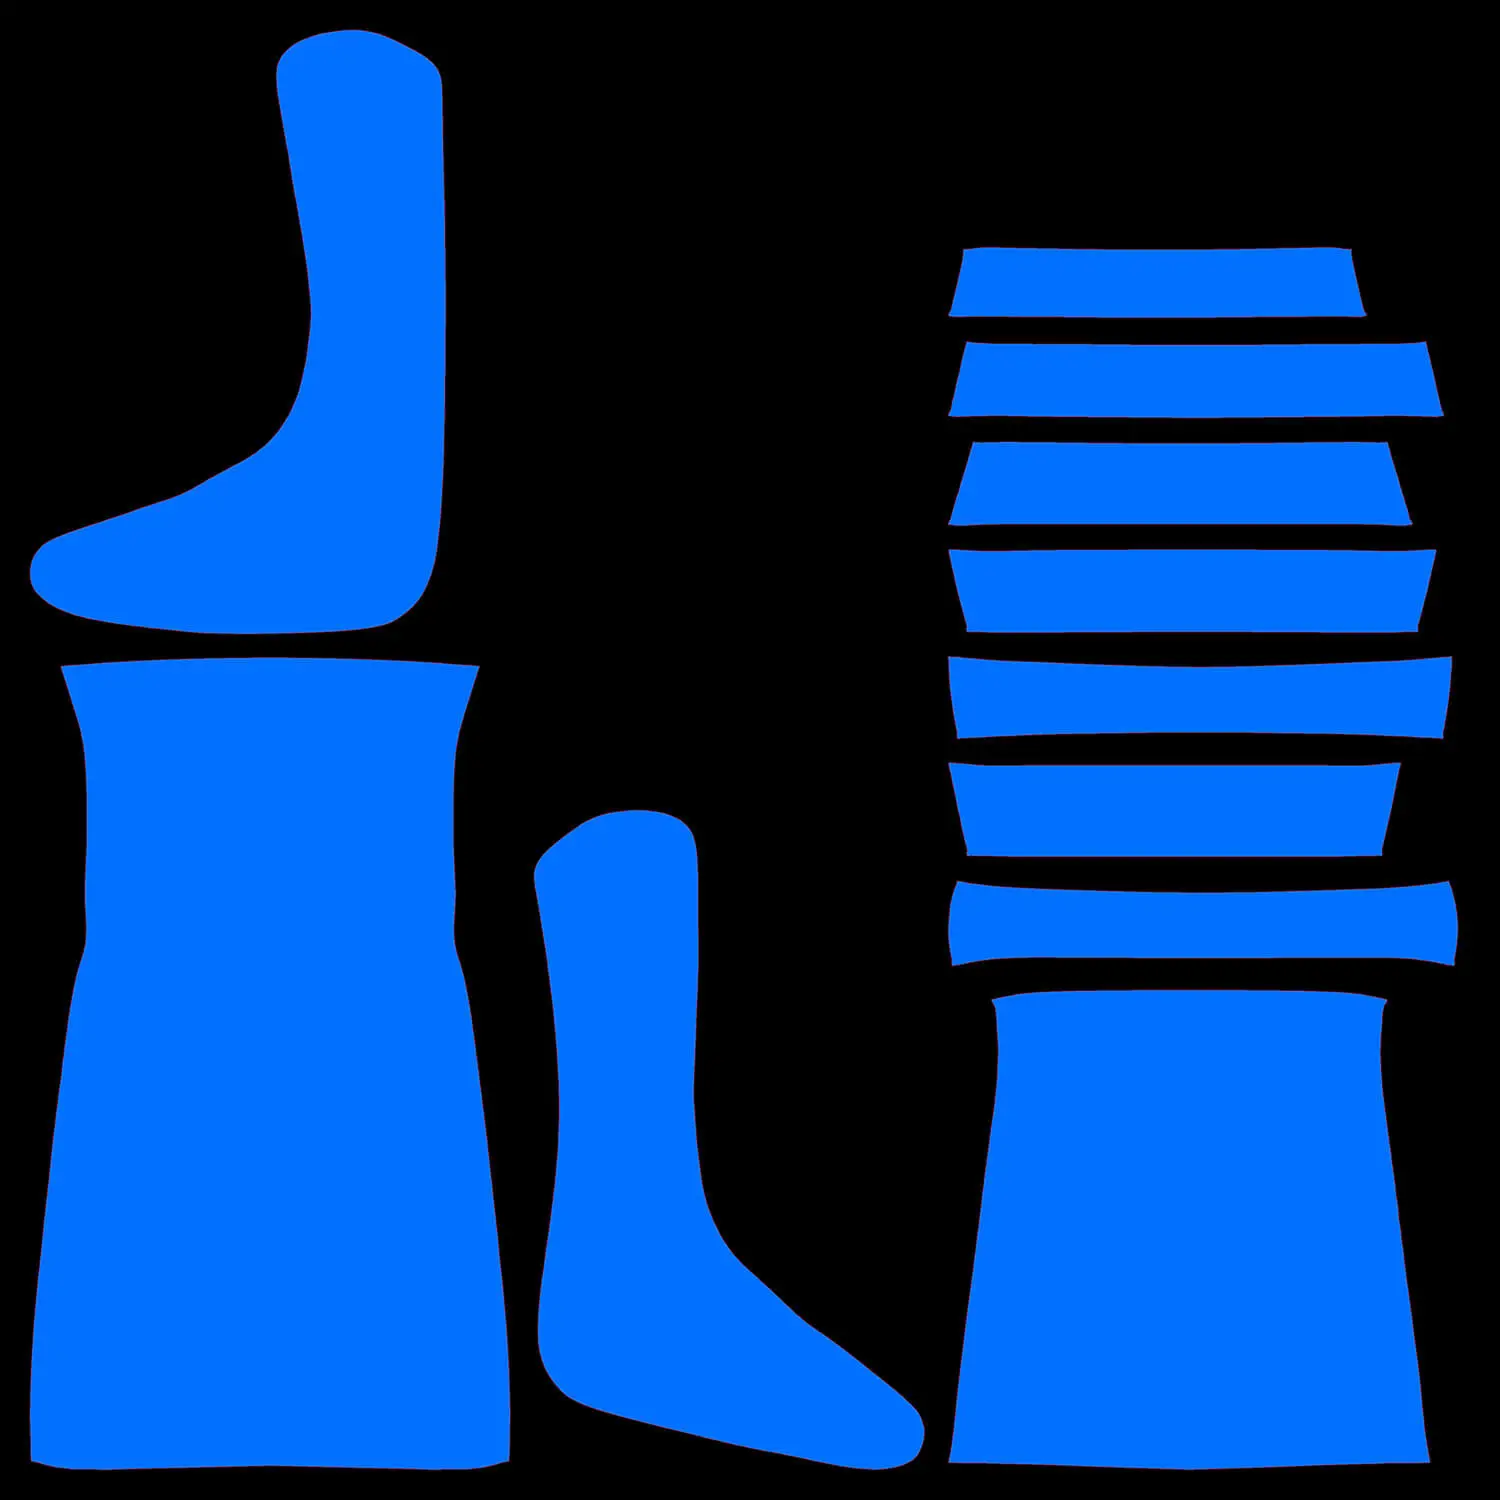
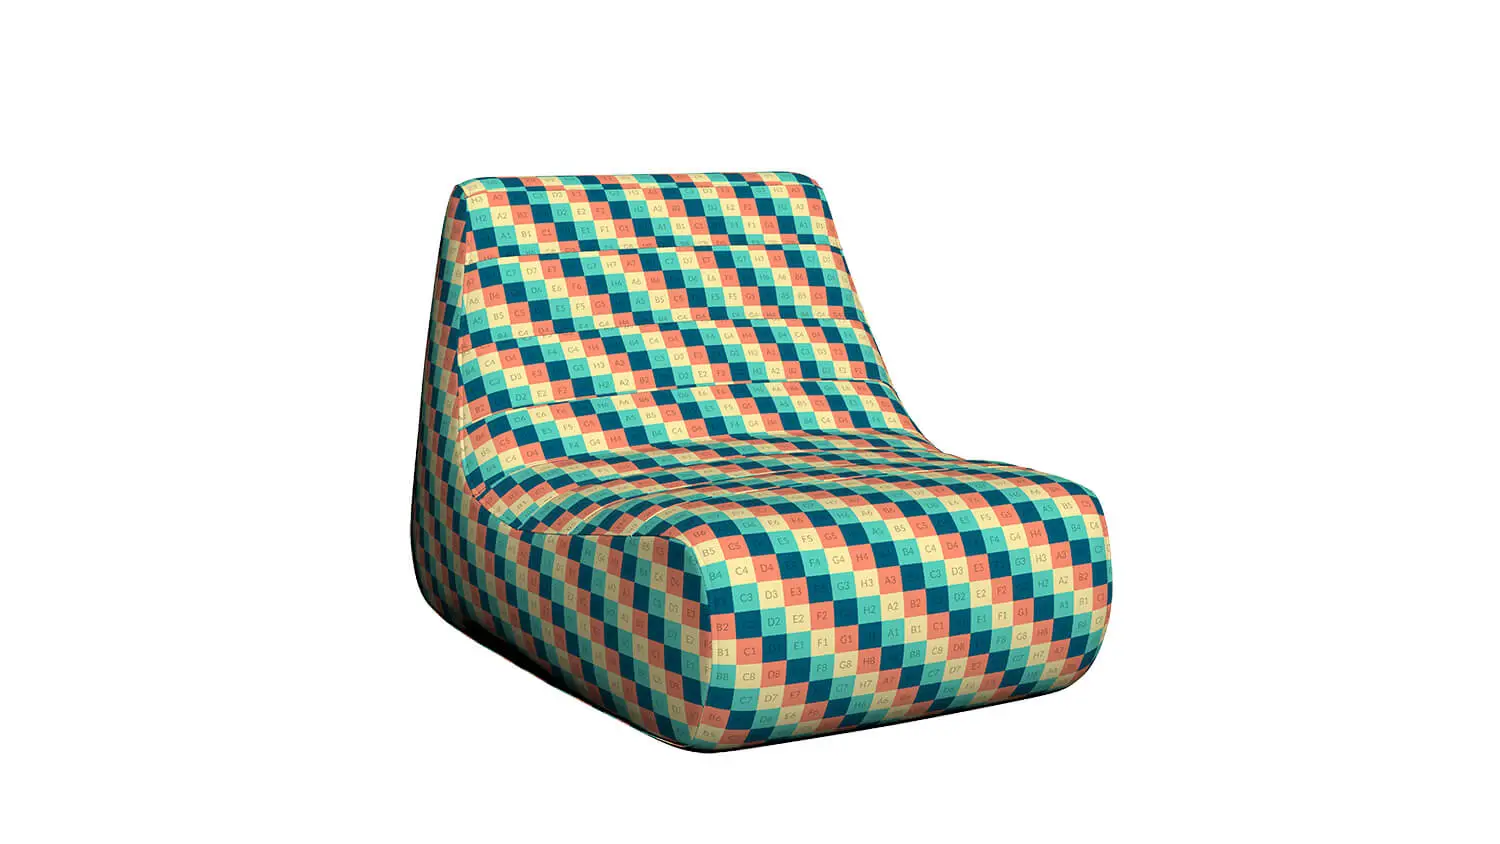
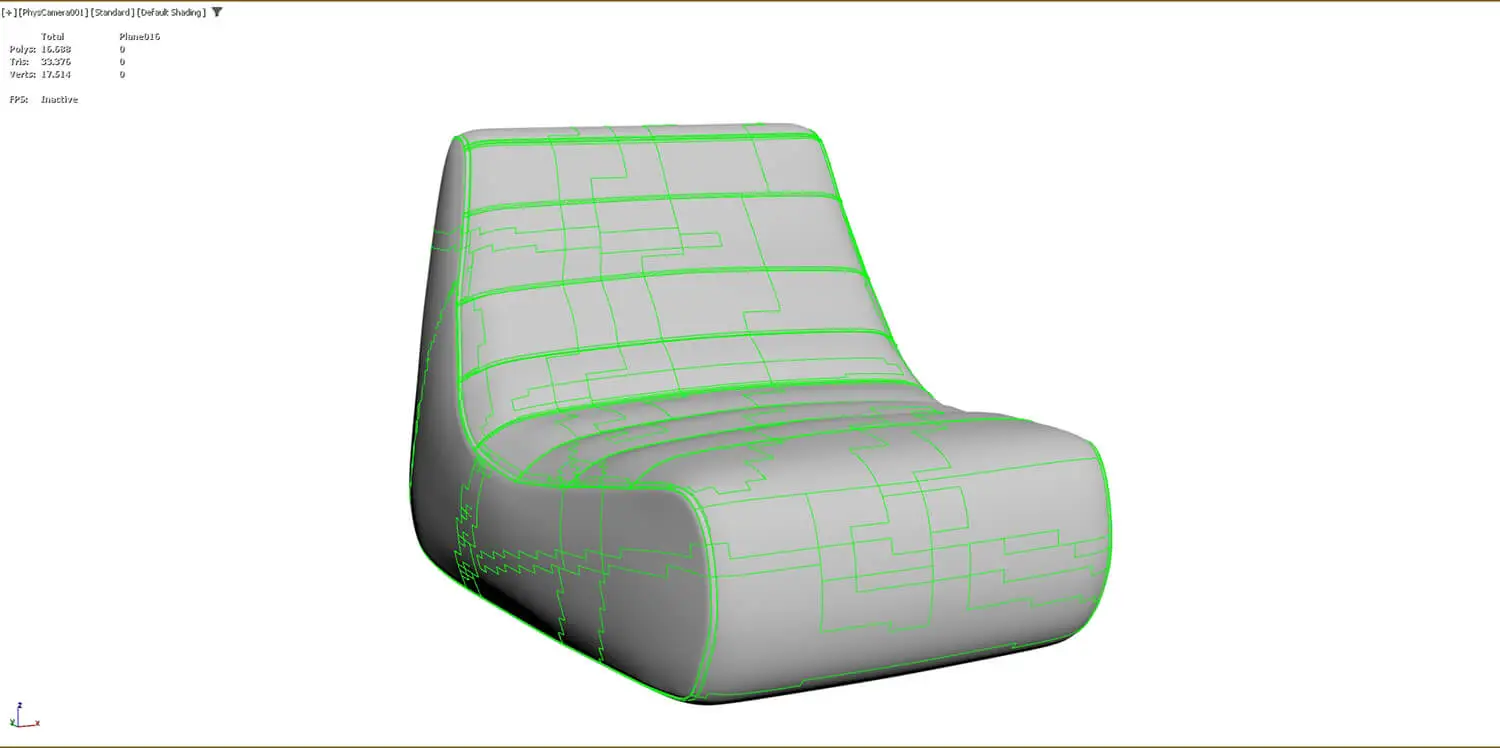
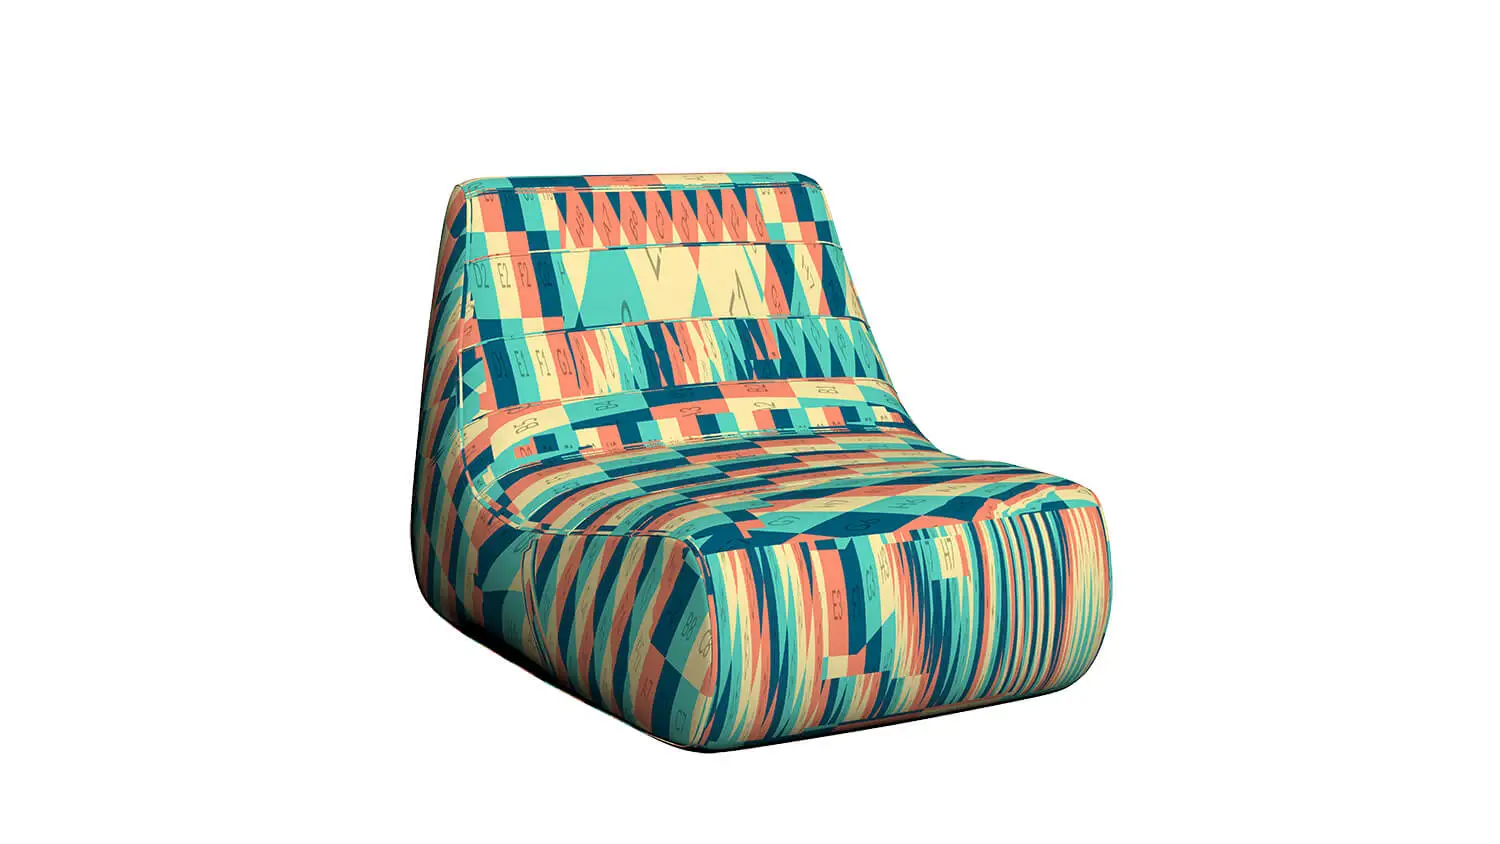
Good UV coordinates are half the battle: They prevent stretching, make baking easier and deliver clean material edges. Using a lounge chair, we show what a clean UV atlas looks like - and what happens when seams and shells are created incorrectly. Especially with displacement maps, UV errors are immediately noticeable due to jagged edges and visible seam artifacts.
UV mapping workflow (6 steps)
1. analysis & plan Texel density
Before any seeds are set, define the target resolution and texel density (e.g. 10 px/cm for close-ups, 5 px/cm for background assets). Check the raw mesh: symmetries, repetitions, zones that are difficult to see (undersides, inner parts).
-> Tip: For small product details you can find 3D visualization product Examples of how Texel density can be varied without it being noticeable.
2. set seams & unwrap
Seams on natural edges: Seams on fabric, panel joints on wood, seams on metal.
Unwrap (Smart/Angle/Planar) and then Relax/Optimize until Checker-Map shows rectangles.
It is better to divide large curved surfaces into several islands instead of risking extreme stretches.
3. pack & stack islands
Pack according to Texel density: Scale islands until checker tiles are the same size everywhere.
Symmetrical parts may be stacked (overlaps) as long as the material and light are identical.
Pay attention to sensible rotations (90° grid) to favor algorithms such as mip mapping.
4. separate UV sets
UV1 for PBR textures (Albedo, Normal, Roughness).
UV2 exclusively for lightmaps/AO - without overlaps, with lots of padding.
Some tools create UV2 automatically; manual fine-tuning prevents light leaks.
5. padding & edge seams
For 2k maps at least 8 px padding, for 4k correspondingly more.
For tangent space normal maps, the following applies: Hard edge = UV split - otherwise waves/seams.
Activate "Edge Bleed" or "Texture Dilate" before baking to avoid color fringing.
QA & Test-Bake
Checker map (8×8) over it: Distorted squares? → Relax again.
Low-res test beacon (AO + Normal at 512 px): Check seams, skews, light bleeding.
When everything is in place, export in final resolution, then continue to Texture Baking.
For color- and material-critical projects (e.g. matt lacquers or fabrics), a material preview in Material & surface visualization.
Quick tips
FAQ - UV mapping
What is UV mapping - briefly explained?
UV mapping (or UV unwrapping) is the unwrapping of a 3D surface in a 2D coordinate system. Only then can textures be placed on a model without distortion.
How do I set seeds correctly in Blender?
The Blender Wikibooks documentation provides step-by-step instructions. There you can find out where cuts make sense and how to avoid stretching.
Do I need a second UV set for lightmaps?
Yes - a separate UV2 without overlaps is mandatory if you want to bake lighting. More on this in the Lightmap glossary.
What is Texel density and why is it important?
Texel density defines how many pixels of a texture are used per unit area. Uniform values prevent muddy textures and resolution jumps - you can find practical examples at Texture Baking.
Can I have UVs generated completely automatically?
A quick introduction is Substance 3D - UV Mapping Basics. Adobe shows how auto unwrap works and when manual work is still necessary. For very large projects or complex texture setups, a render farm can help to speed up the entire bake and render process considerably.
How do I prevent visible seams in my textures?
Place seams on natural edges, set sufficient padding and test with a checker map. The following applies to tangent space normal maps: Hard edge = UV split.
When are UV overlaps useful and when are they not?
Mirrored areas with identical material can be stacked to save space. Overlaps are taboo for lightmaps or different lighting areas.
What typical errors should I check for before baking?
Overlaps, too little padding, uneven texel density and hard edges without UV split. A low-res test beacon quickly reveals light leaks and moiré.