
What is a normal map?
CGI Visualization to Perfection
Danthree Studio turns complex 3D tech into high-converting marketing assets. Get high-end quality for your brand.
Start ProjectWhat is a normal map?
Definition of Normal Map
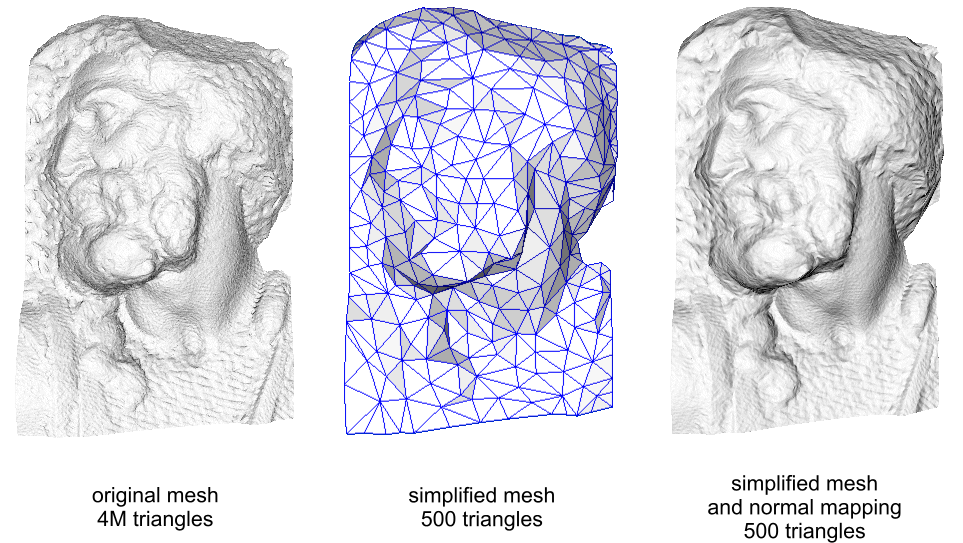
A normal map is a texture that stores the direction of surface normals. It simulates small irregularities, wrinkles, or pores—without requiring additional polygons. The result: a high level of detail, short render times, and consistent materials in a PBR workflow.
How exactly does a normal map work?
Instead of modeling real geometry, the normals of each pixel are encoded as RGB values (usually in tangent space). The renderer interprets this color as the “orientation” of the surface—light reacts to it as if there were actual texture. Important: Color values representing the object’s color are not provided by the normal map, but by the albedo / base-color map.
In short:
- RGB = XYZ normal direction
- Tangent Space = Object can move/deform
- Object Space = for static assets (e.g., architecture)
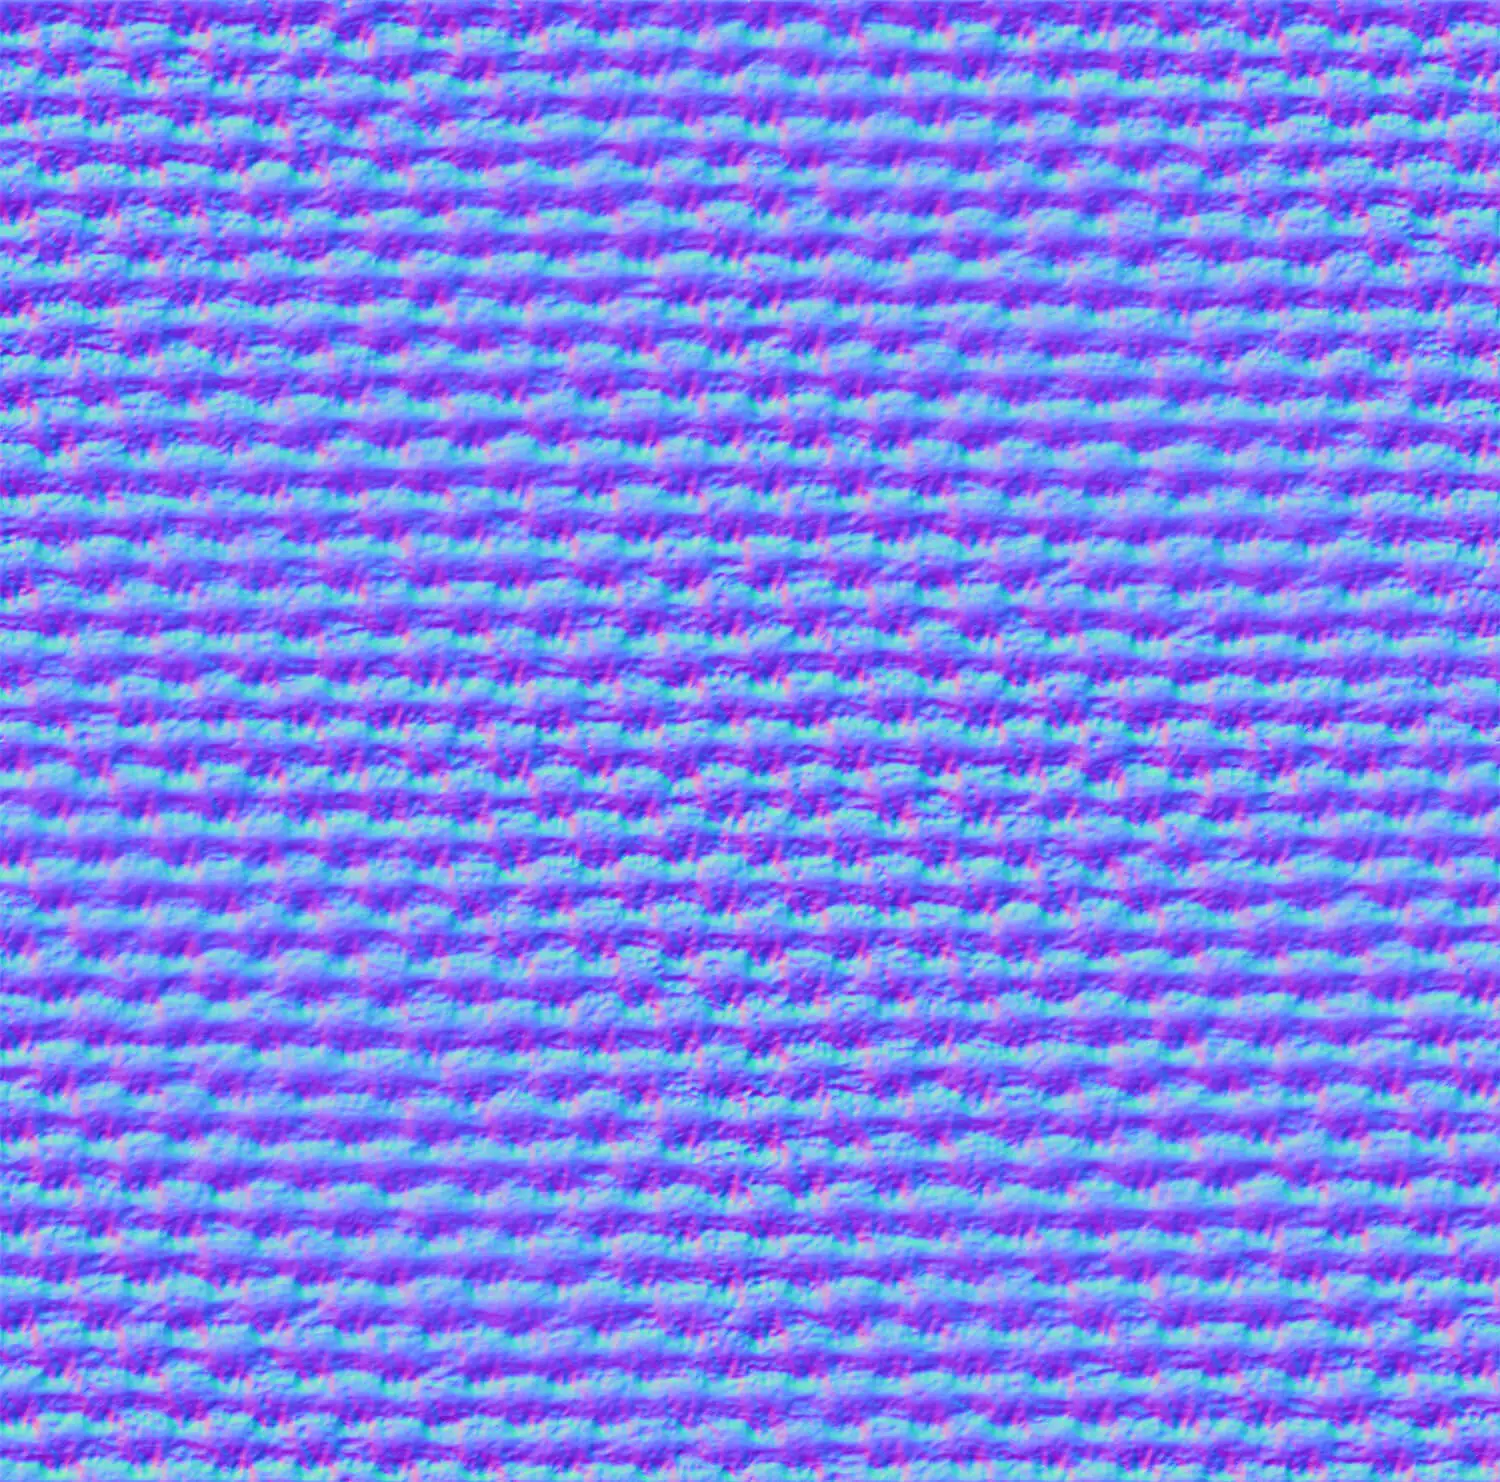
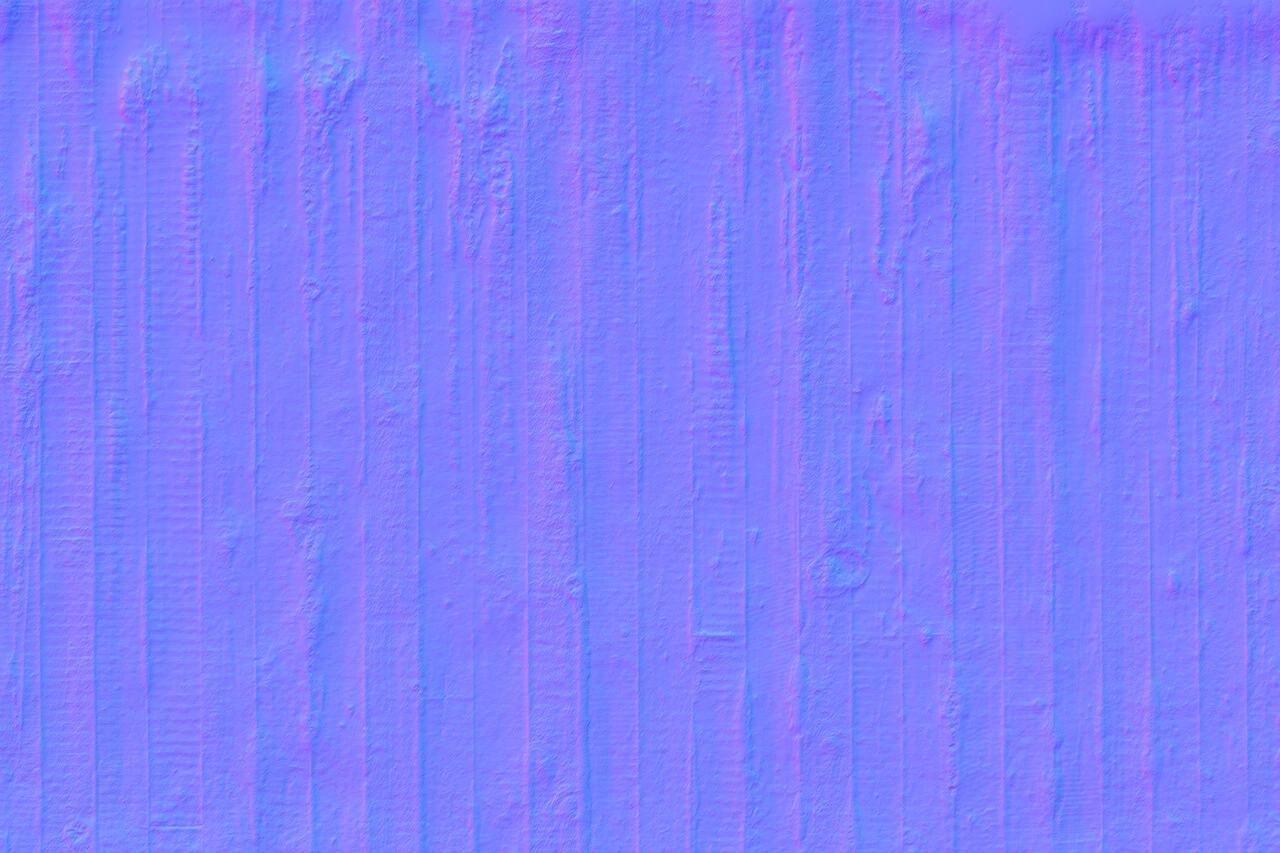
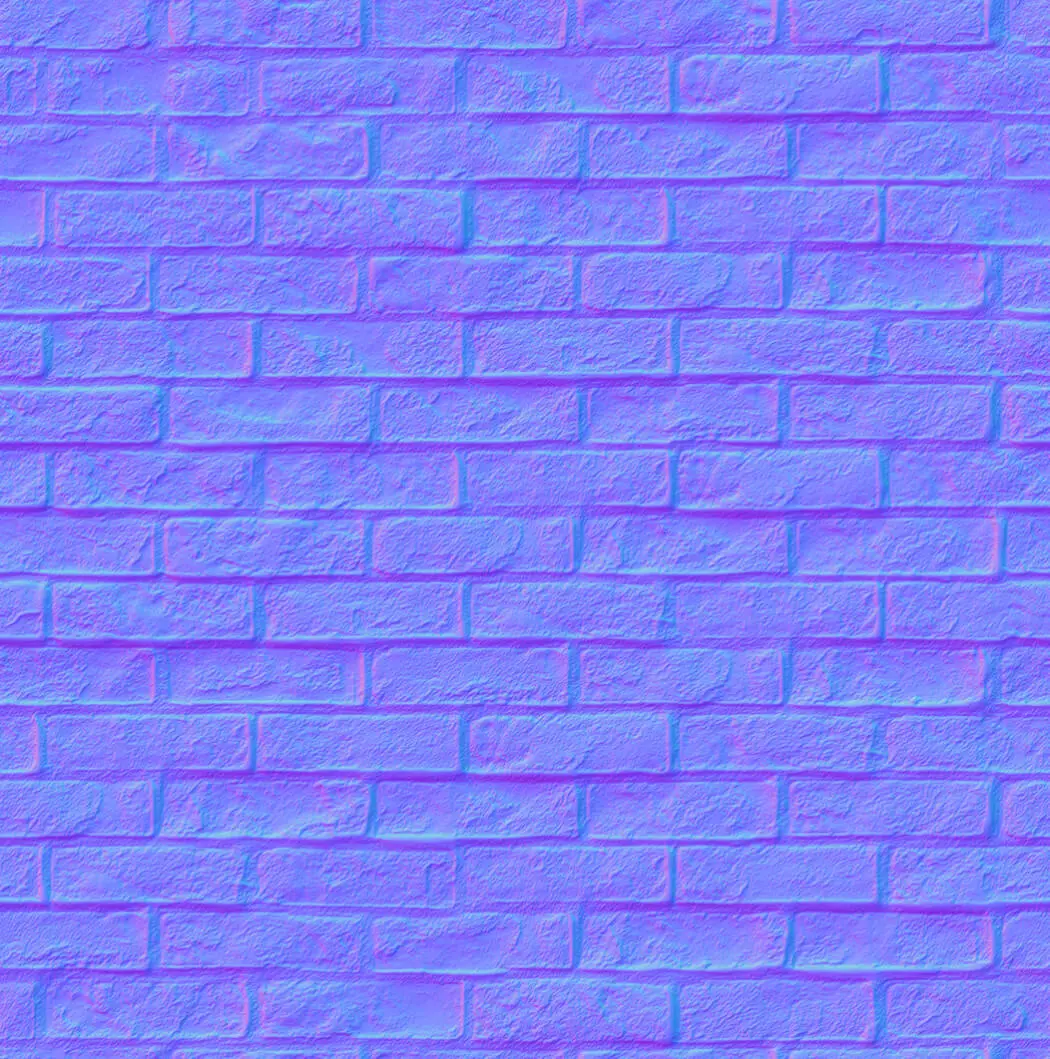
Normal Map Examples

From Technical Term to Visual Experience
We don't just use these technologies; we master them. See how we create photorealistic worlds for leading brands.
View WorkMini Comparison: Normal Map vs. Bump Map
How Normal Maps Are Created at Danthree Studio
1. High-poly → Low-poly Bake
First, we create a detailed high-poly model (e.g., fabric fibers, wood pores, milled details). From this, we bake normal, AO, and curvature maps onto the optimized low-poly model. A clean UV atlas, sufficient UV padding, and 16-/32-bit output prevent banding and seams. To ensure your maps look consistent even on larger surfaces, we recommend testing them with the checker for tilable textures.
2. Shader Structure in the PBR Workflow
The baked normal map is combined in the material shader with roughness/metallic (PBR) and, if applicable, height/displacement. This ensures that materials behave consistently in any lighting setup—whether in a render, WebGL viewer, or AR.
3 Optimization for Real-Time & glTF
For web viewers (glTF, USDZ), we reduce the resolution and bit depth without any visible loss of detail. Where necessary, we merge multiple normal maps (detail/tile) into a single texture to keep load times to a minimum.
4. Quality Control & Brand Identity (CI)
Before the go-live, we check: Does the microstructure truly match the product message (e.g., fine linen vs. coarse tweed)? Are highlights rendered correctly under lighting conditions that comply with our CI? Only then do we approve the rendering in our 3D rendering studio.
Quick Tips for Working with Normal Maps
Normal Maps in Action: Two Project Examples
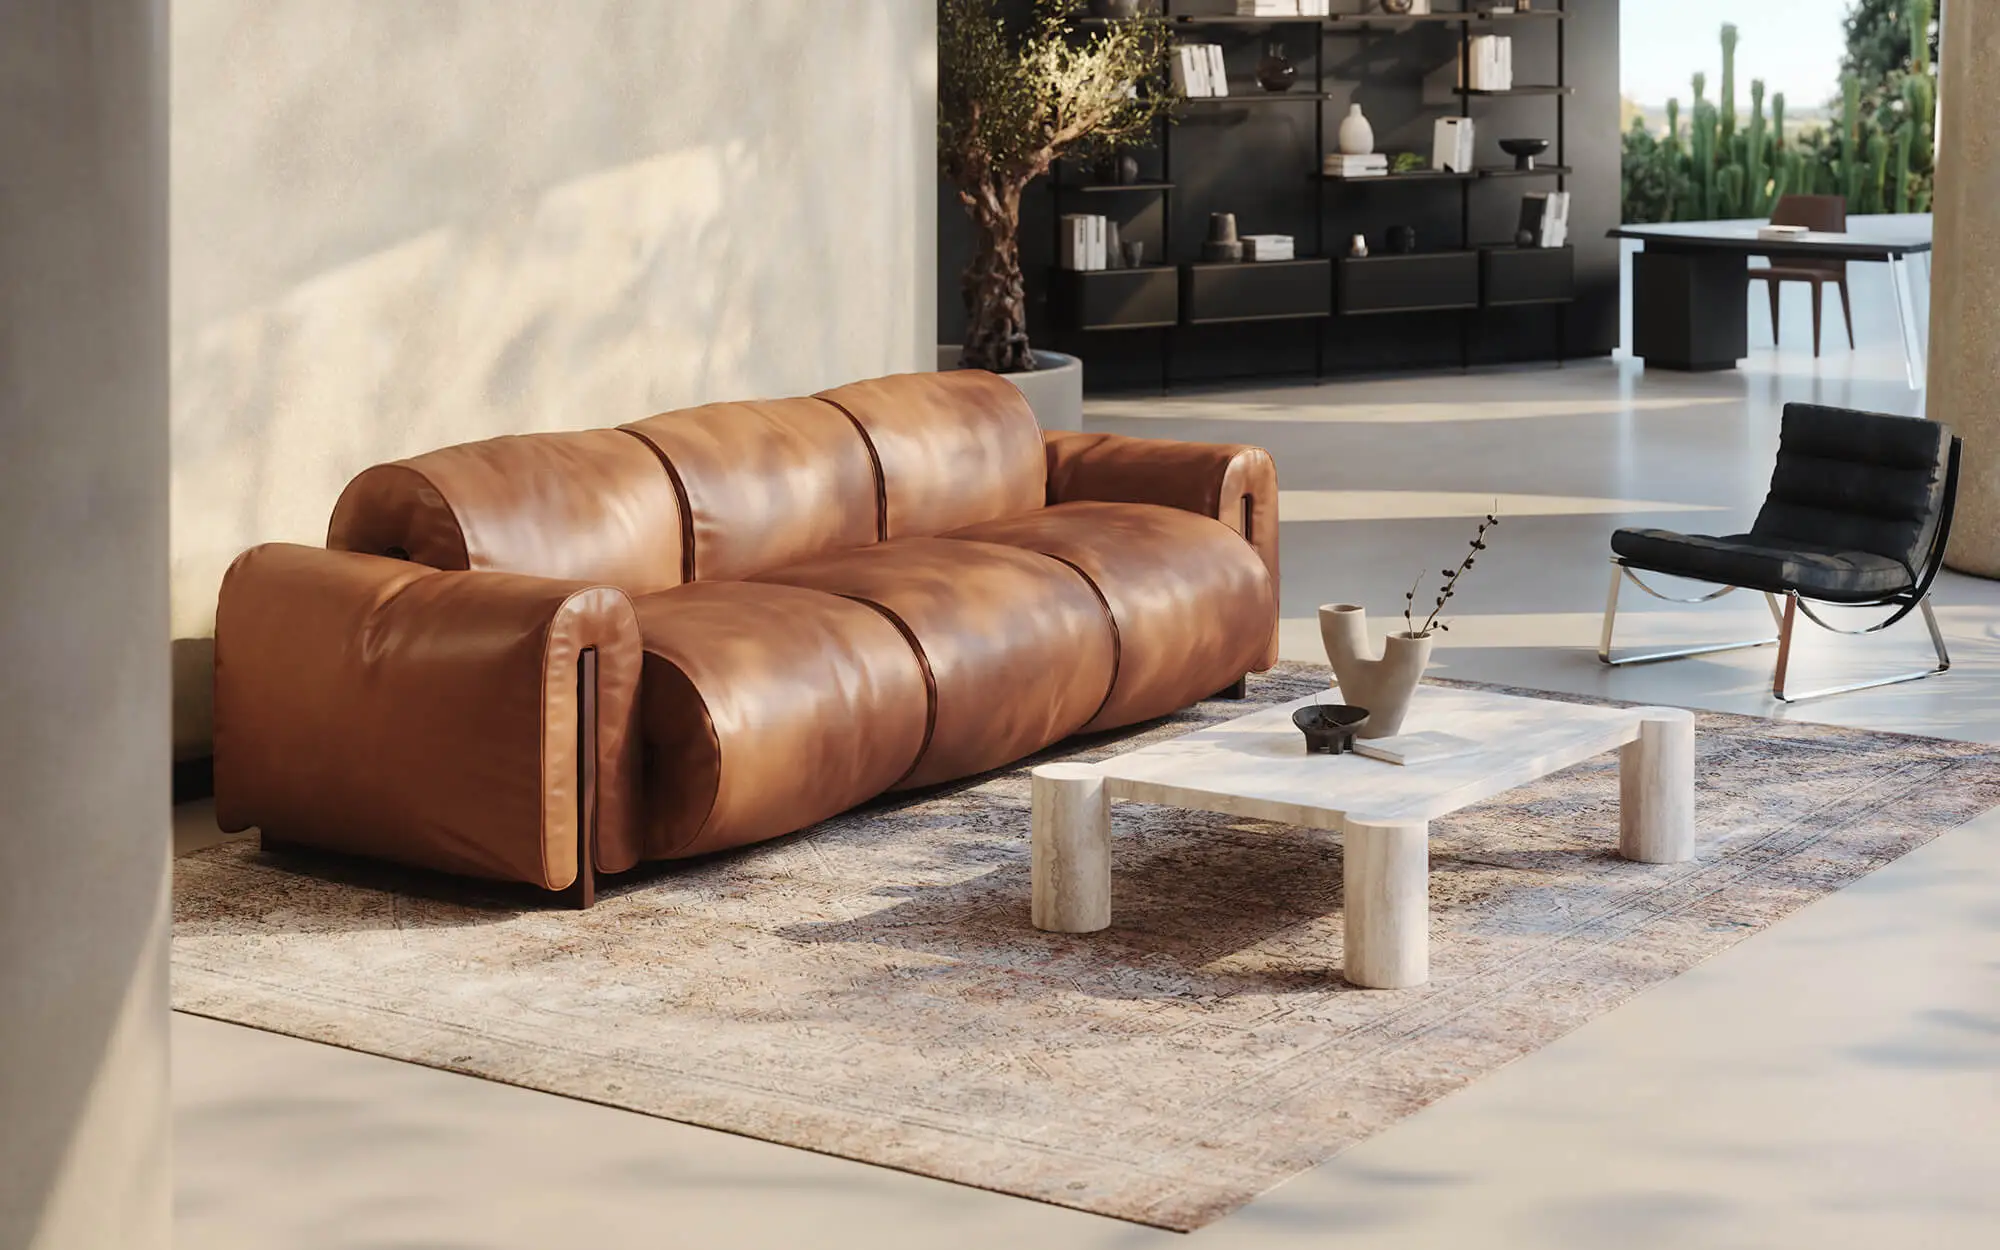
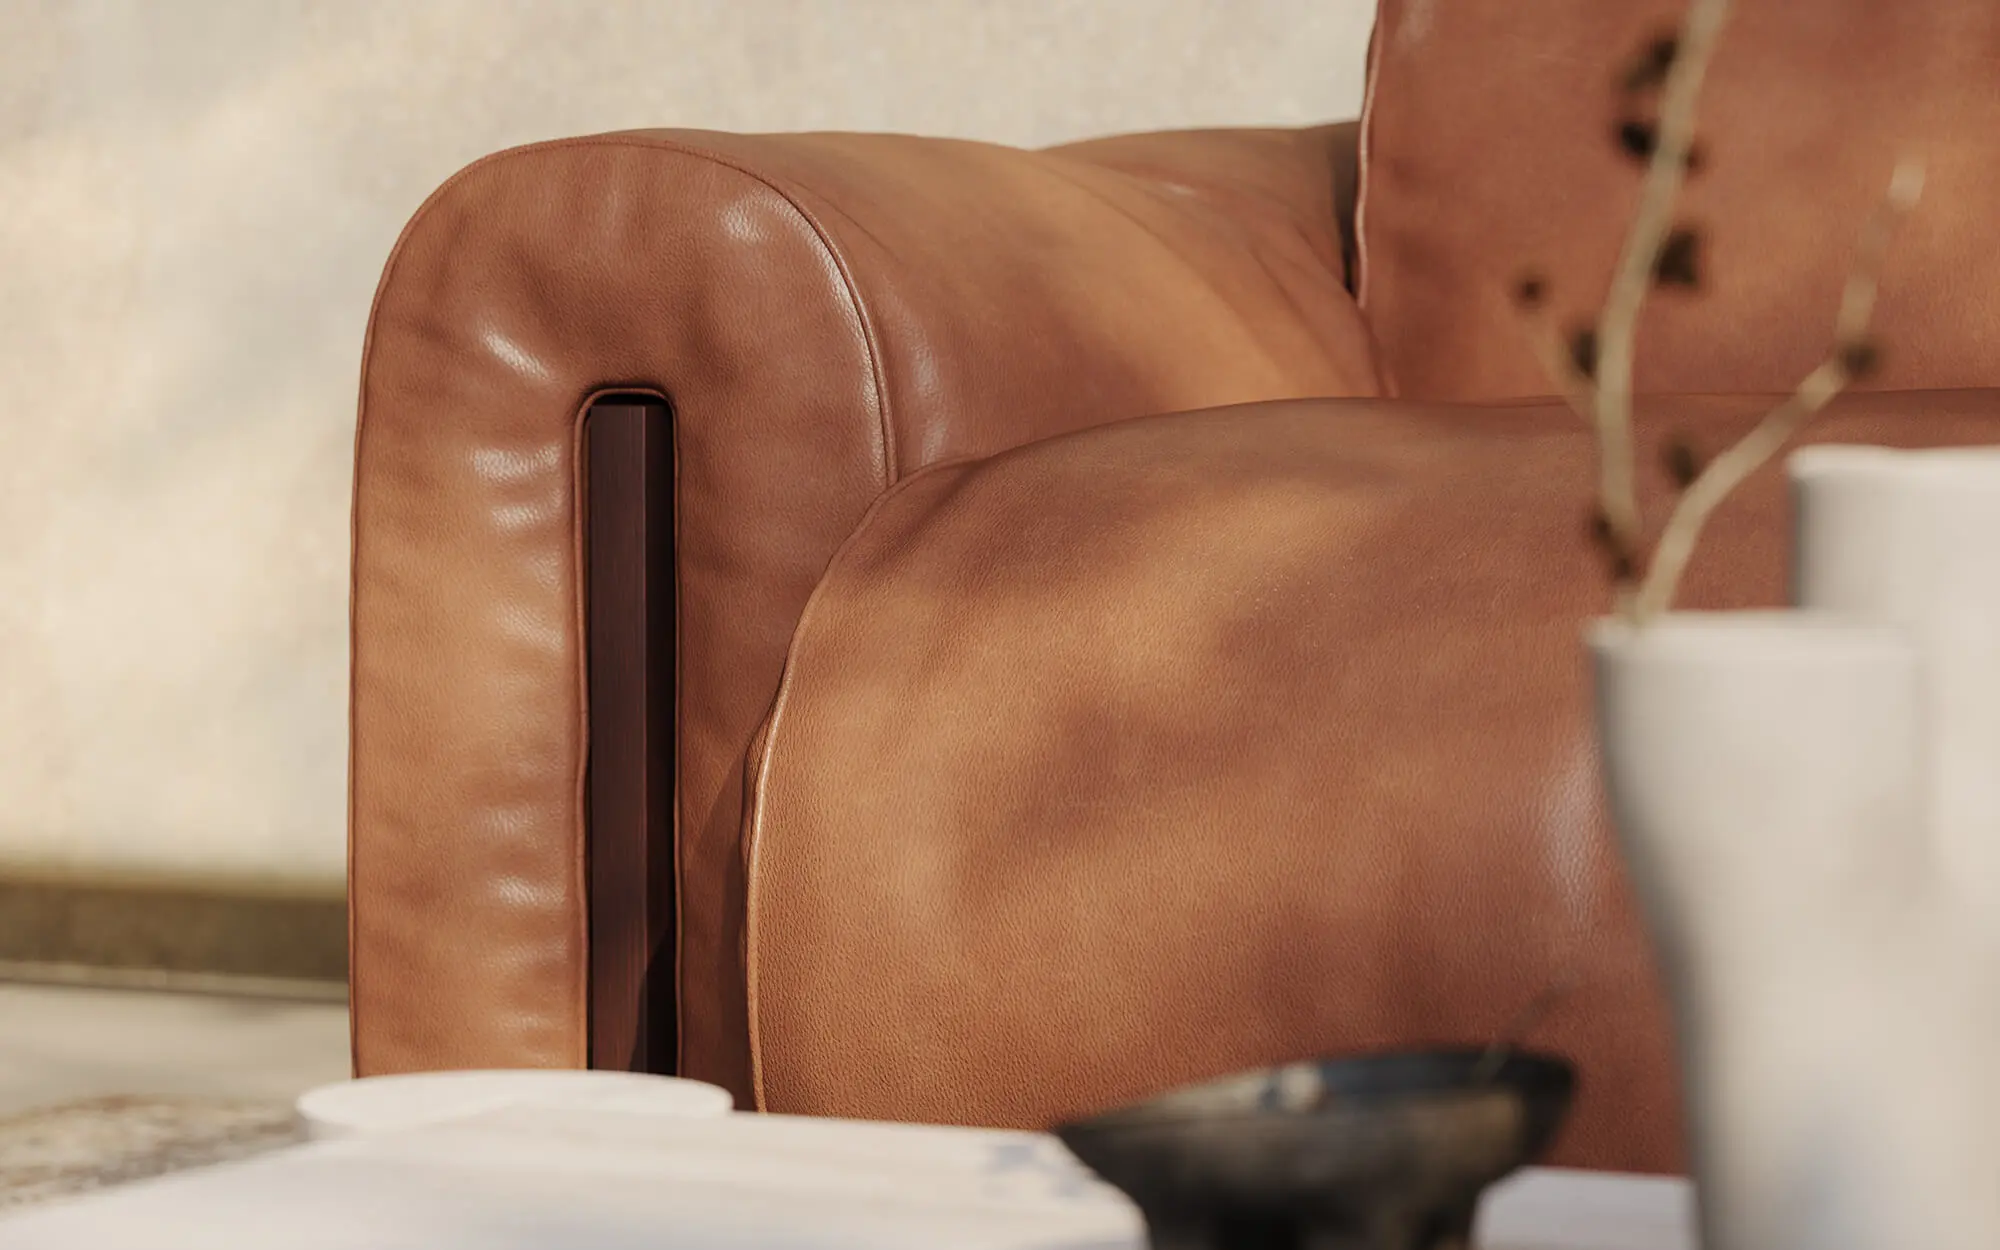
1. Normal Maps in Action – Sofa
For the 3D product visualization for Natuzzi, we baked the fine leather grain, creases, and indentations as a normal map from the high-poly model. This makes the highlights and shadows on the material appear three-dimensional—without unnecessarily high polygon counts.
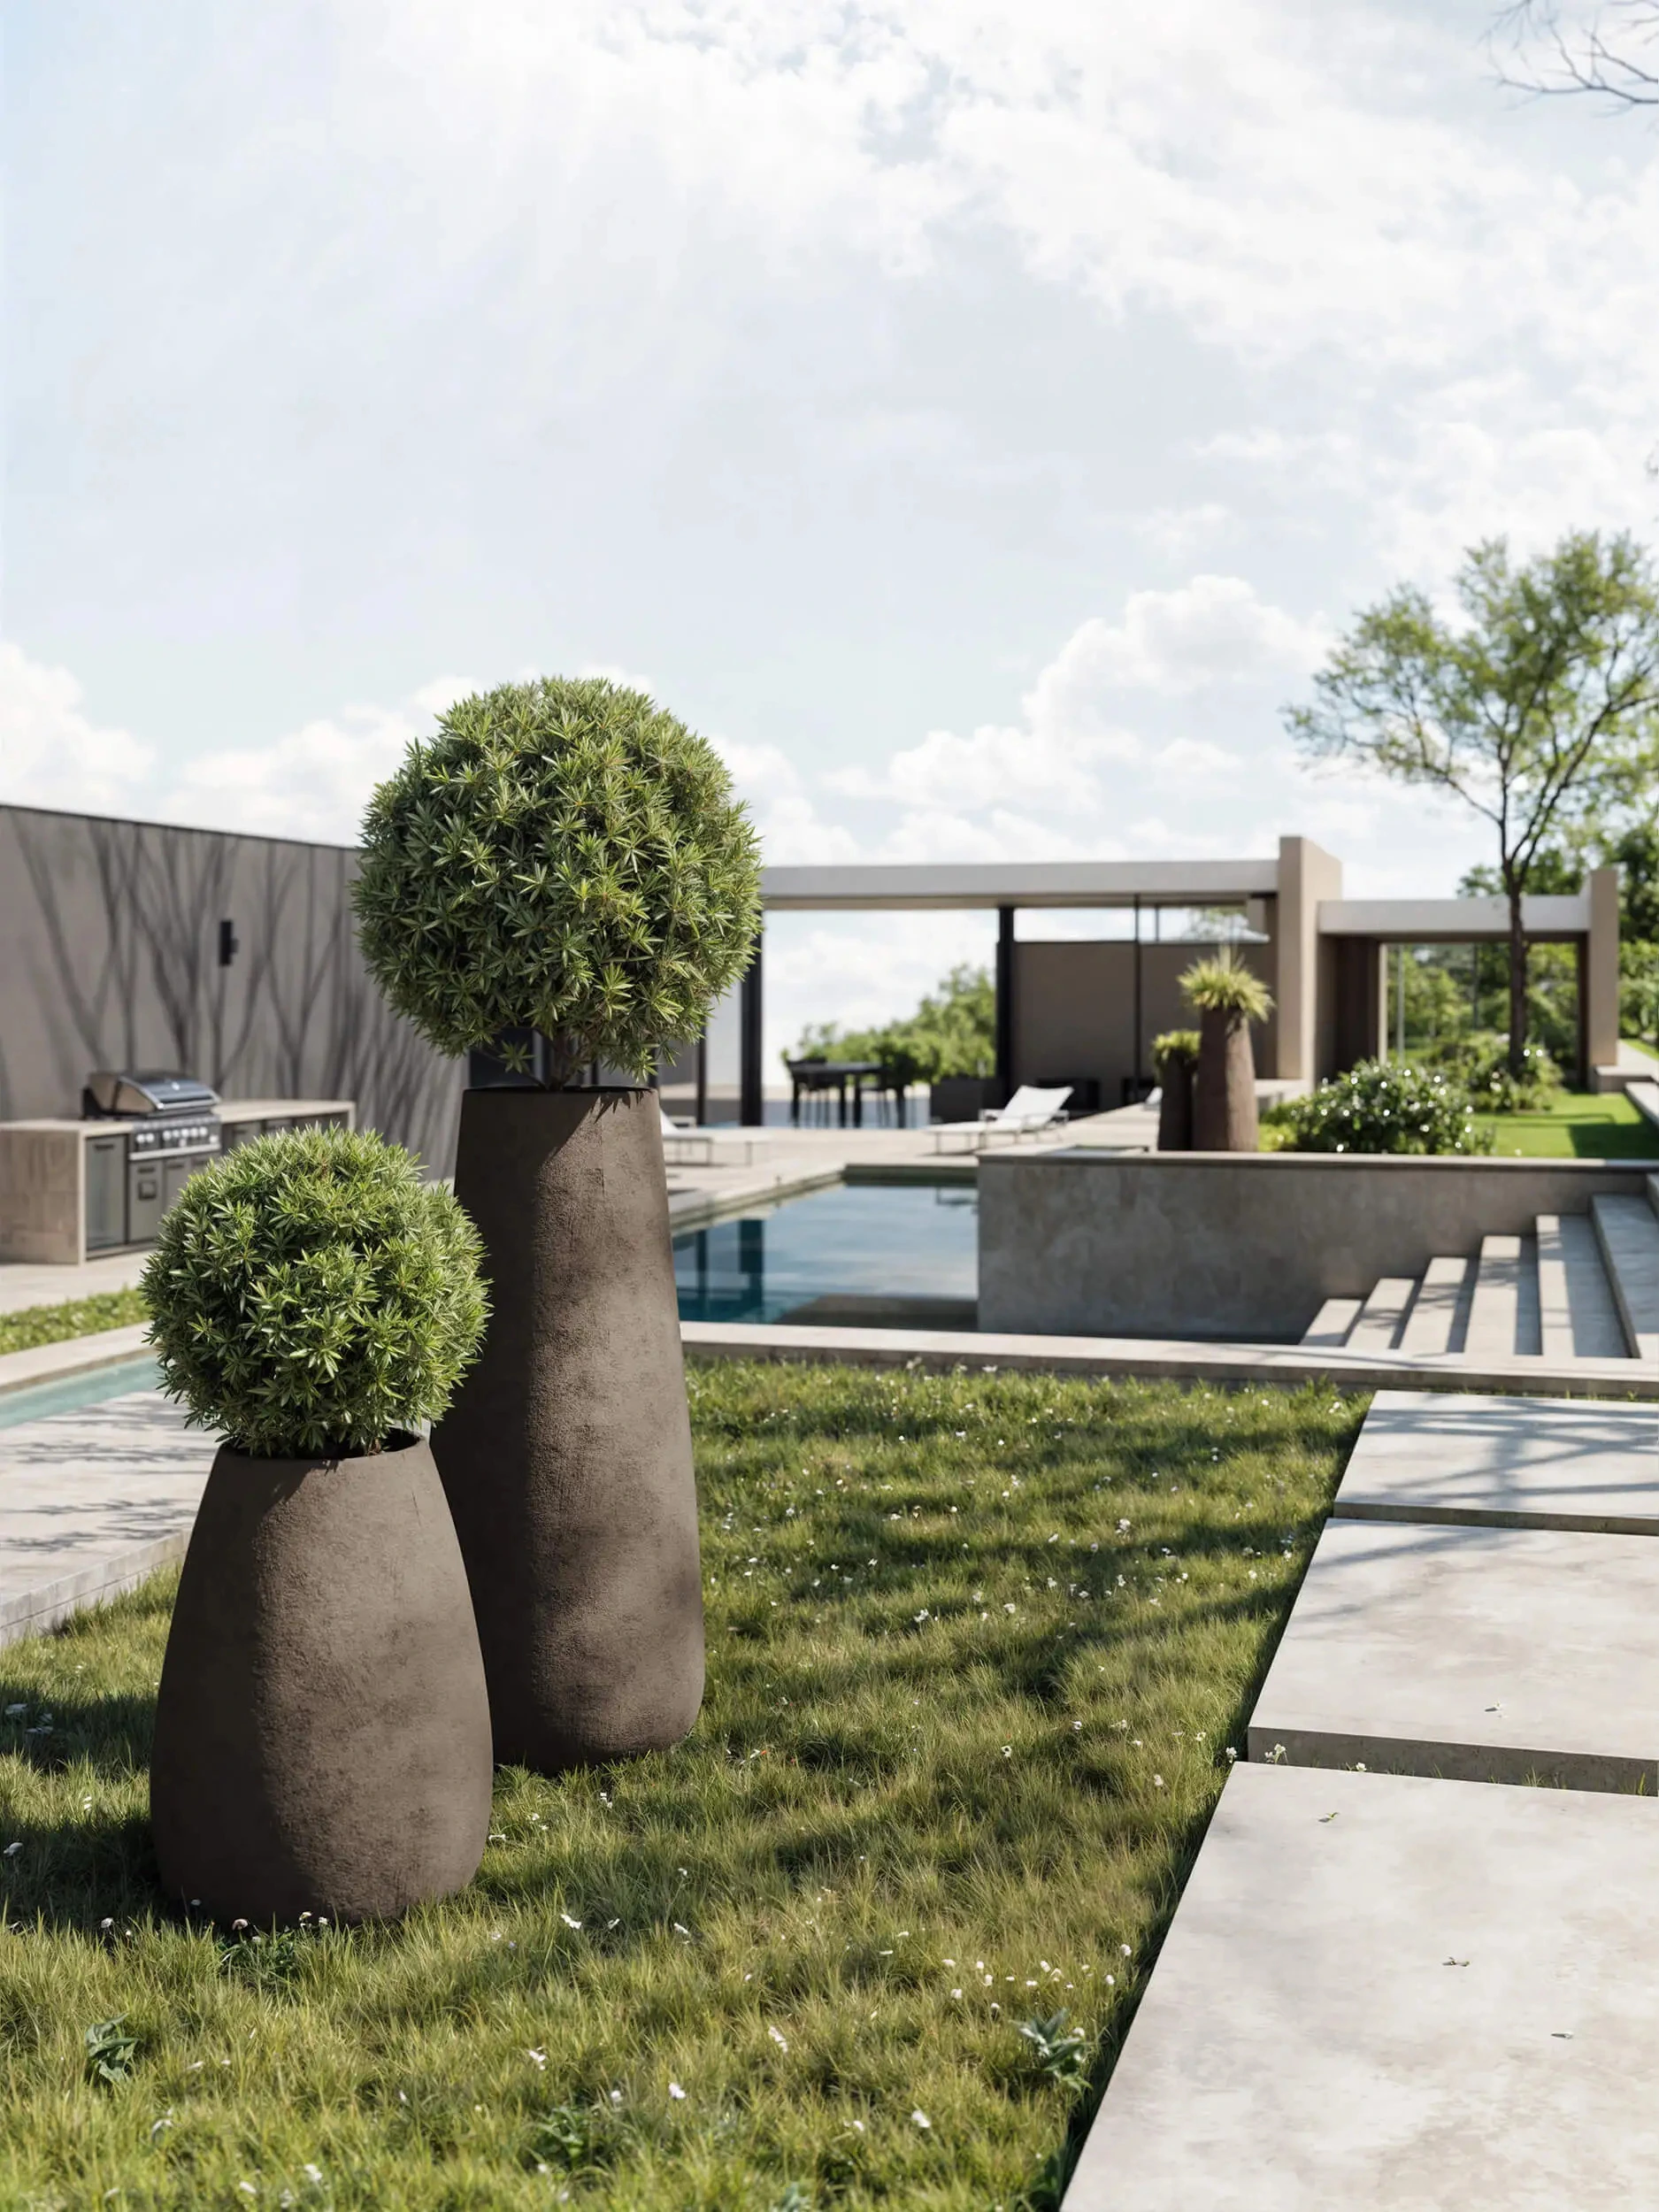
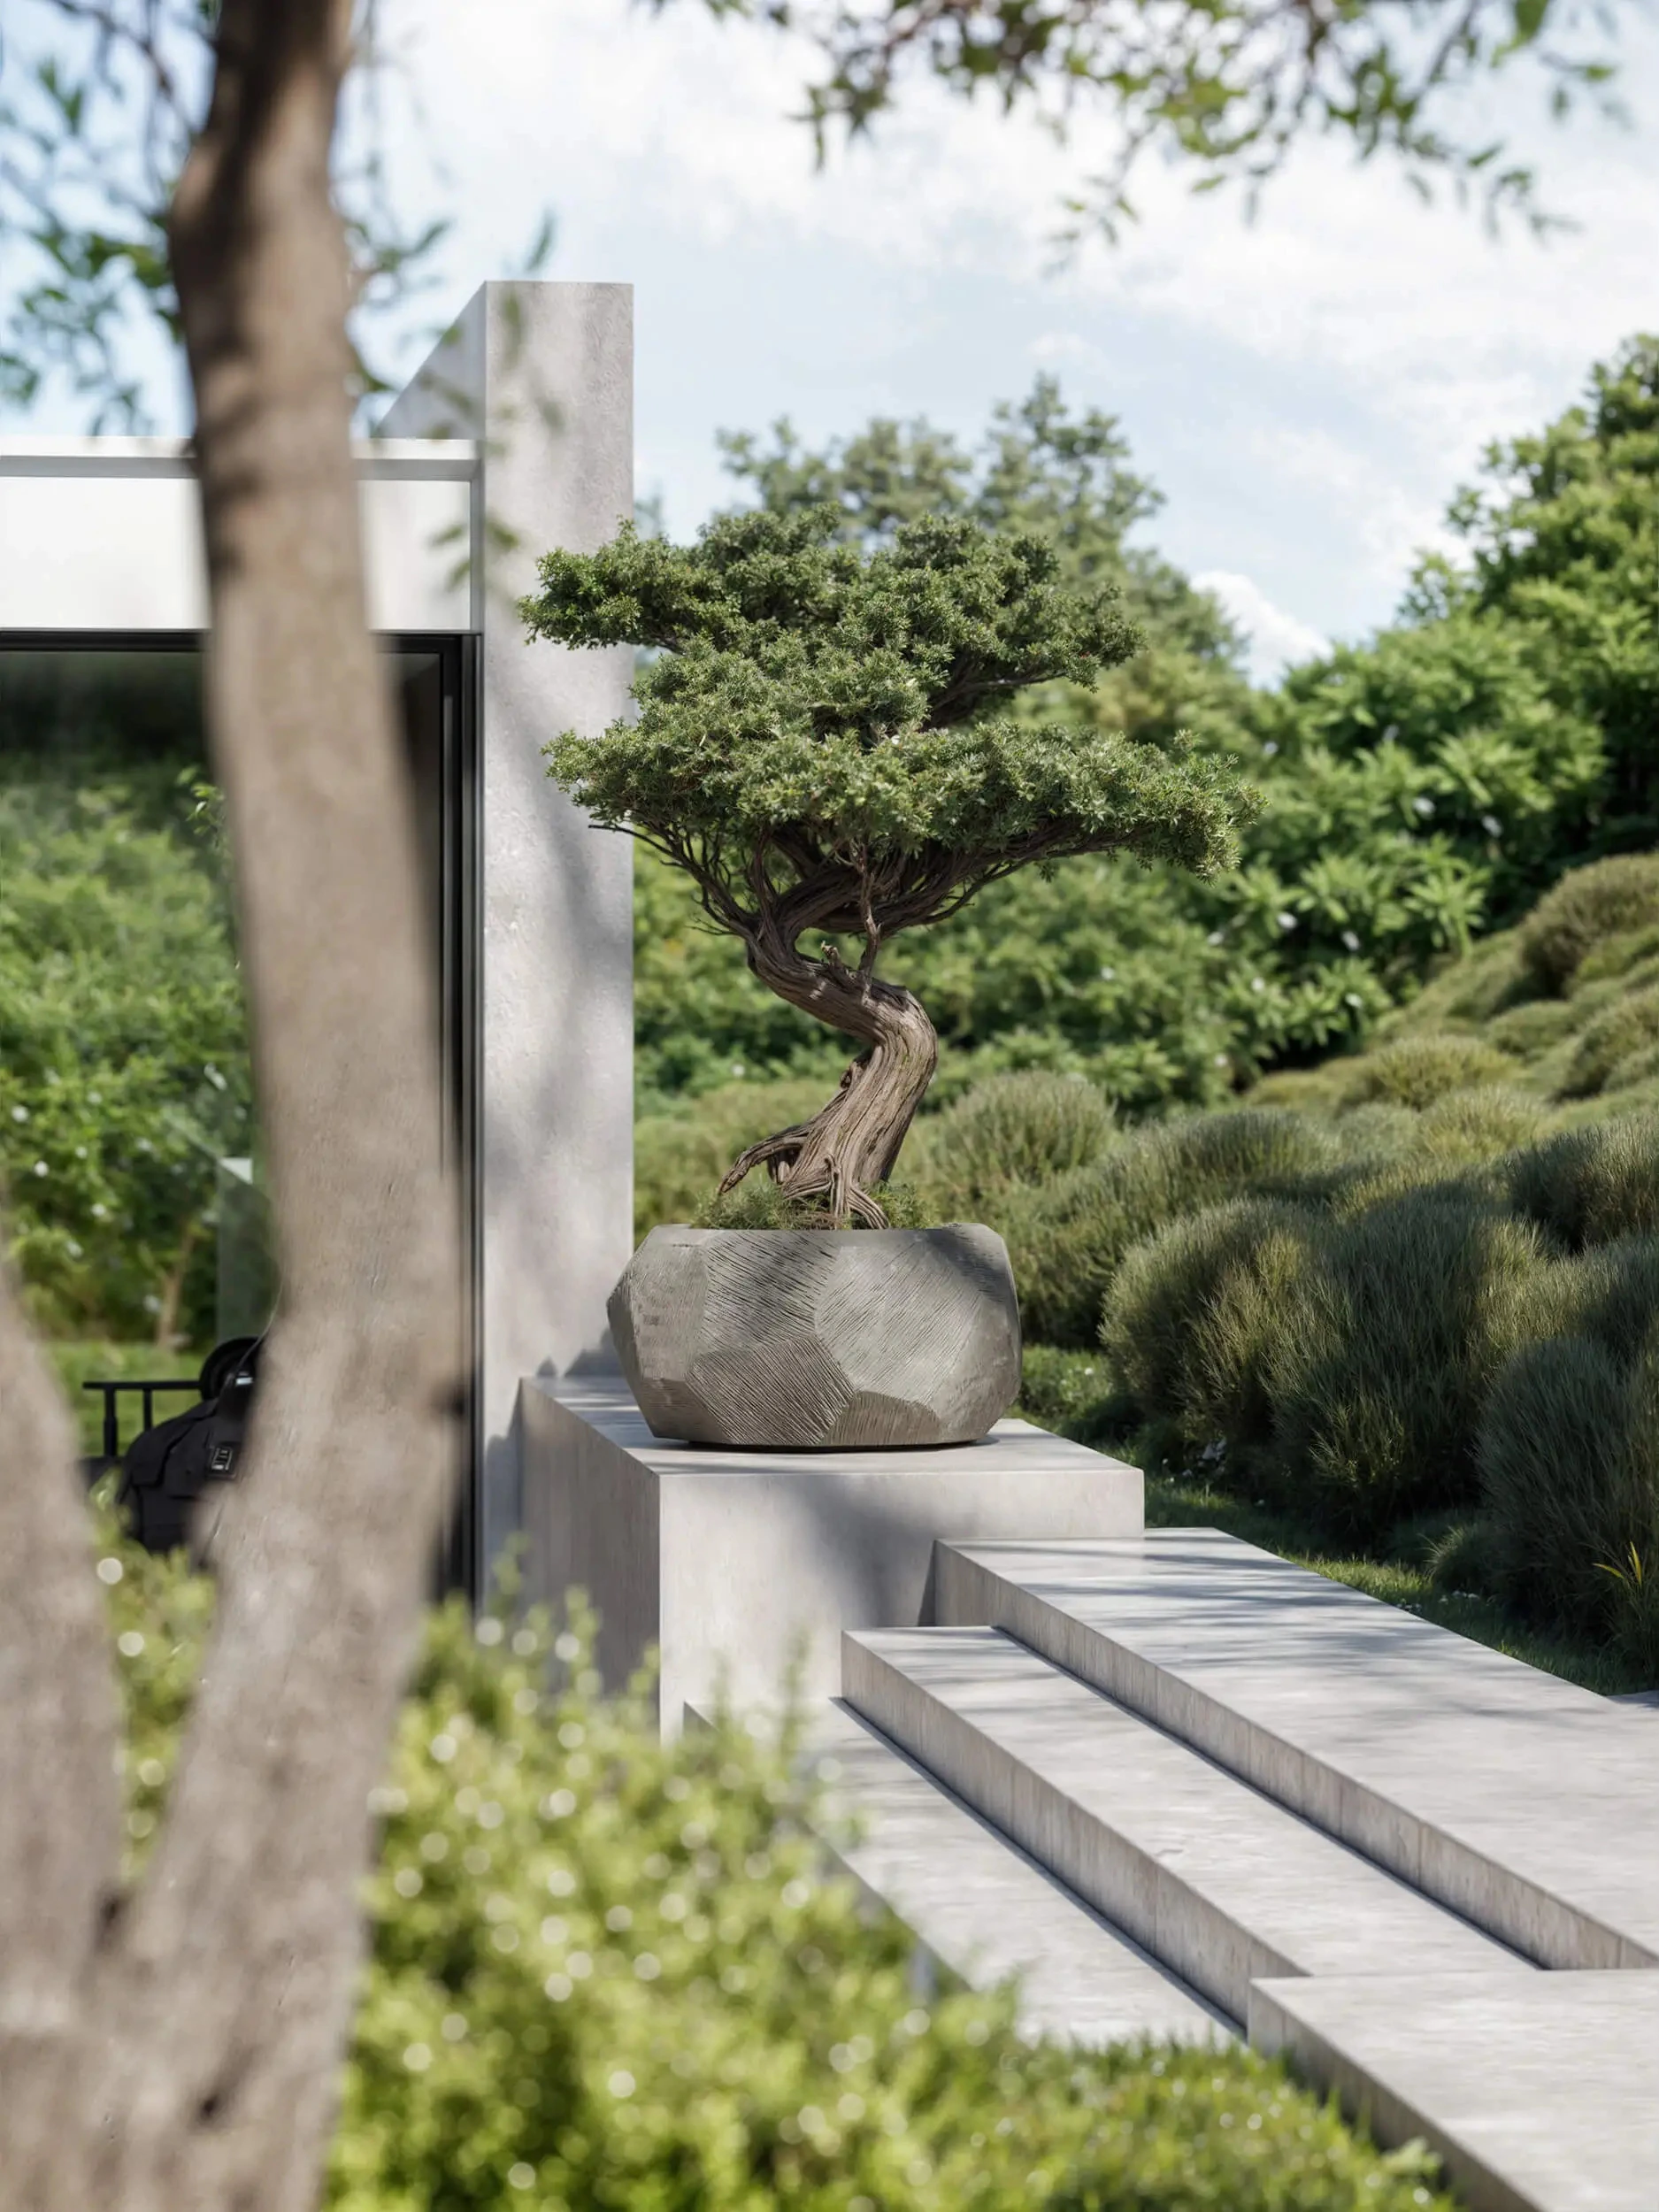
2. Plant Pot & Bench – Highlighting the Clay Texture
In the project 3D Visualizations for Planters & Benches (Watcon) we used a normal map to incorporate the irregular clay texture and small grooves. This allows light to interact realistically with the surface—ideal for outdoor renderings in various environments.
FAQ – Normal Map
Do I always need tangent space for normal maps?
Not necessarily. Tangent-space normal maps are the standard for animated/deformable meshes. For rigid assets, you can also use object-space or world-space normal maps—they're more accurate, but harder to combine.
How does normal mapping work?
A normal map modifies the surface normals of a pixel without adding geometry. This makes light and shadow appear more detailed—while maintaining the same number of polygons.
Which map slots do I need to assign in the WebGL/Three.js material?
In Three.js, you assign the normalMap to the MeshStandardMaterial. Make sure the intensity (normalScale) and color space (Linear, not sRGB) are correct.
What settings do I need to configure in Blender when importing a normal map?
In the Shader Editor, use the Normal Map node, set "Color Space = Non-Color," and connect the output to the Normal input of the BSDF shader.
Why do my wrinkles/details look smoothed out or incorrect?
Common causes: incorrect color space, mismatched tangent base, or inverted channels. Check out the best practices for normal maps and see if you need to correct the green/blue channel swizzle.
How do I import normal maps correctly into Cinema 4D/Redshift?
In the Redshift or Standard renderer, use the Normal Map Shader, set the texture to "Linear/Non-Color," and connect it to the material's Normal port.
How do I bake a clean normal map from high-poly to low-poly?
Clean UVs, use a cage, and check for artifacts. The Polycount Wiki on baking describes the basic steps. Anti-aliasing, sufficient padding, and proper triangulation are essential.