What is Texture Baking? (Map Baking)
CGI Visualization to Perfection
Danthree Studio turns complex 3D tech into high-converting marketing assets. Get high-end quality for your brand.
Start ProjectWhat is Texture Baking? (Map Baking)
Definition Texture Baking
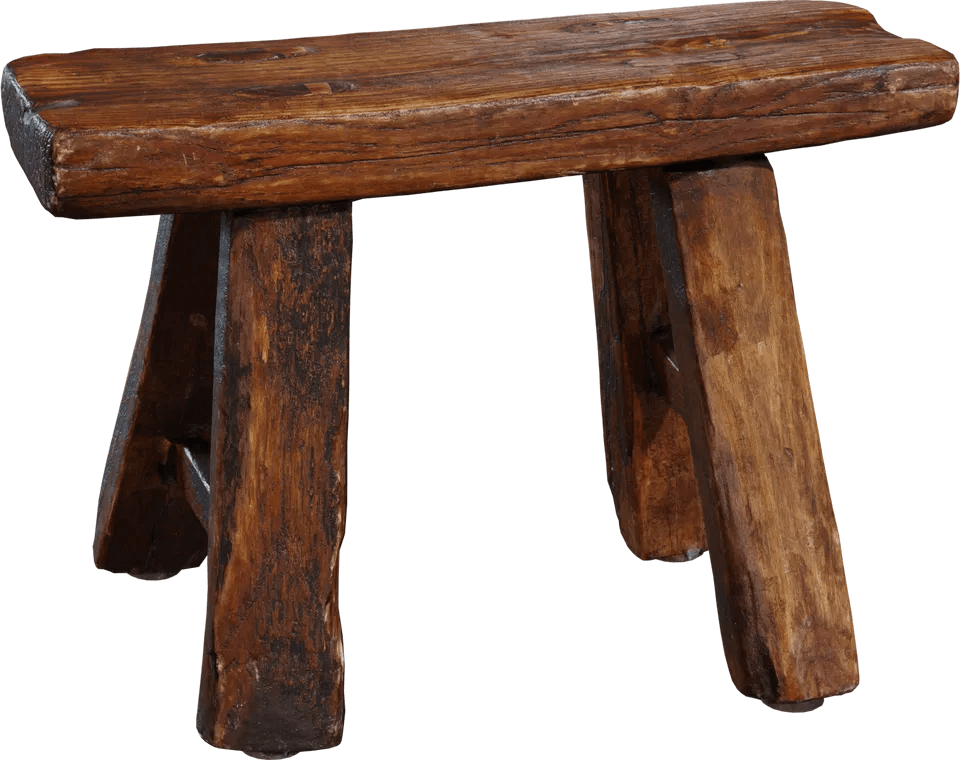
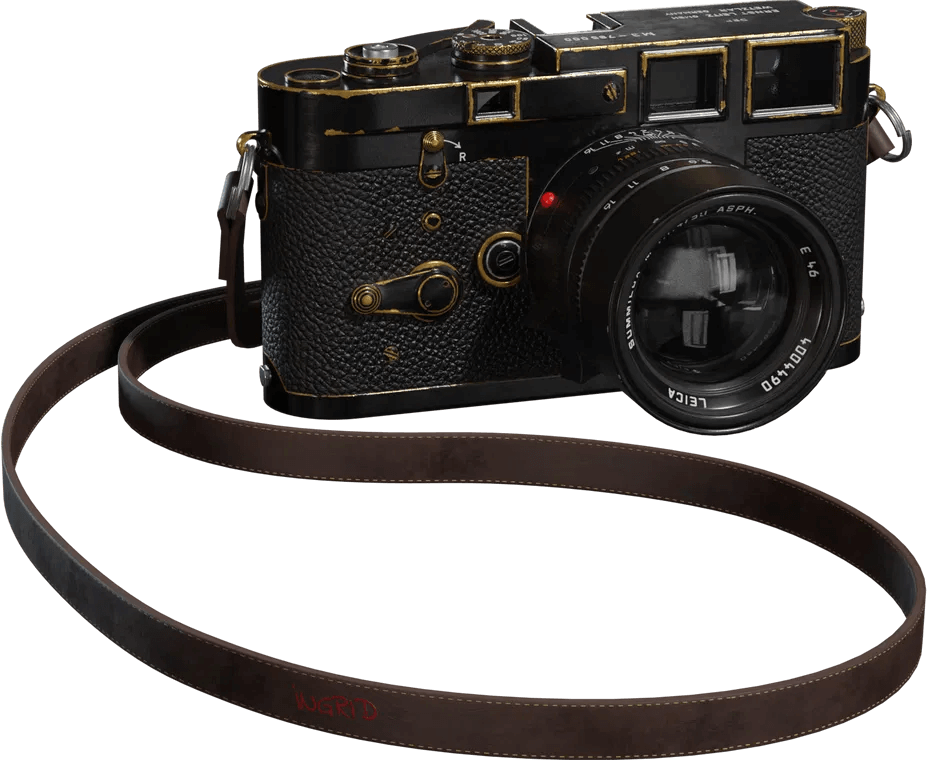
Using two assets – a vintage camera and a rustic wooden stool – we'll show how Texture Baking works: Diffuse/Albedo, AO, Normal, and optionally Light or Curvature Maps are baked onto a UV atlas. This lowers render times, keeps materials consistent, and delivers a photorealistic look even in the web viewer.
Short & sweet – when is baking worthwhile?
Examples of Texture Baking: AO-, Normal- & Lightmaps
Using two assets – a vintage camera and a rustic wooden stool – you'll see how textures bake: Diffuse/Albedo, AO, Normal Maps, and (if needed) Light or Curvature Maps end up neatly on a UV atlas. This reduces render time, keeps materials consistent, and ensures a photorealistic look even in the web viewer.
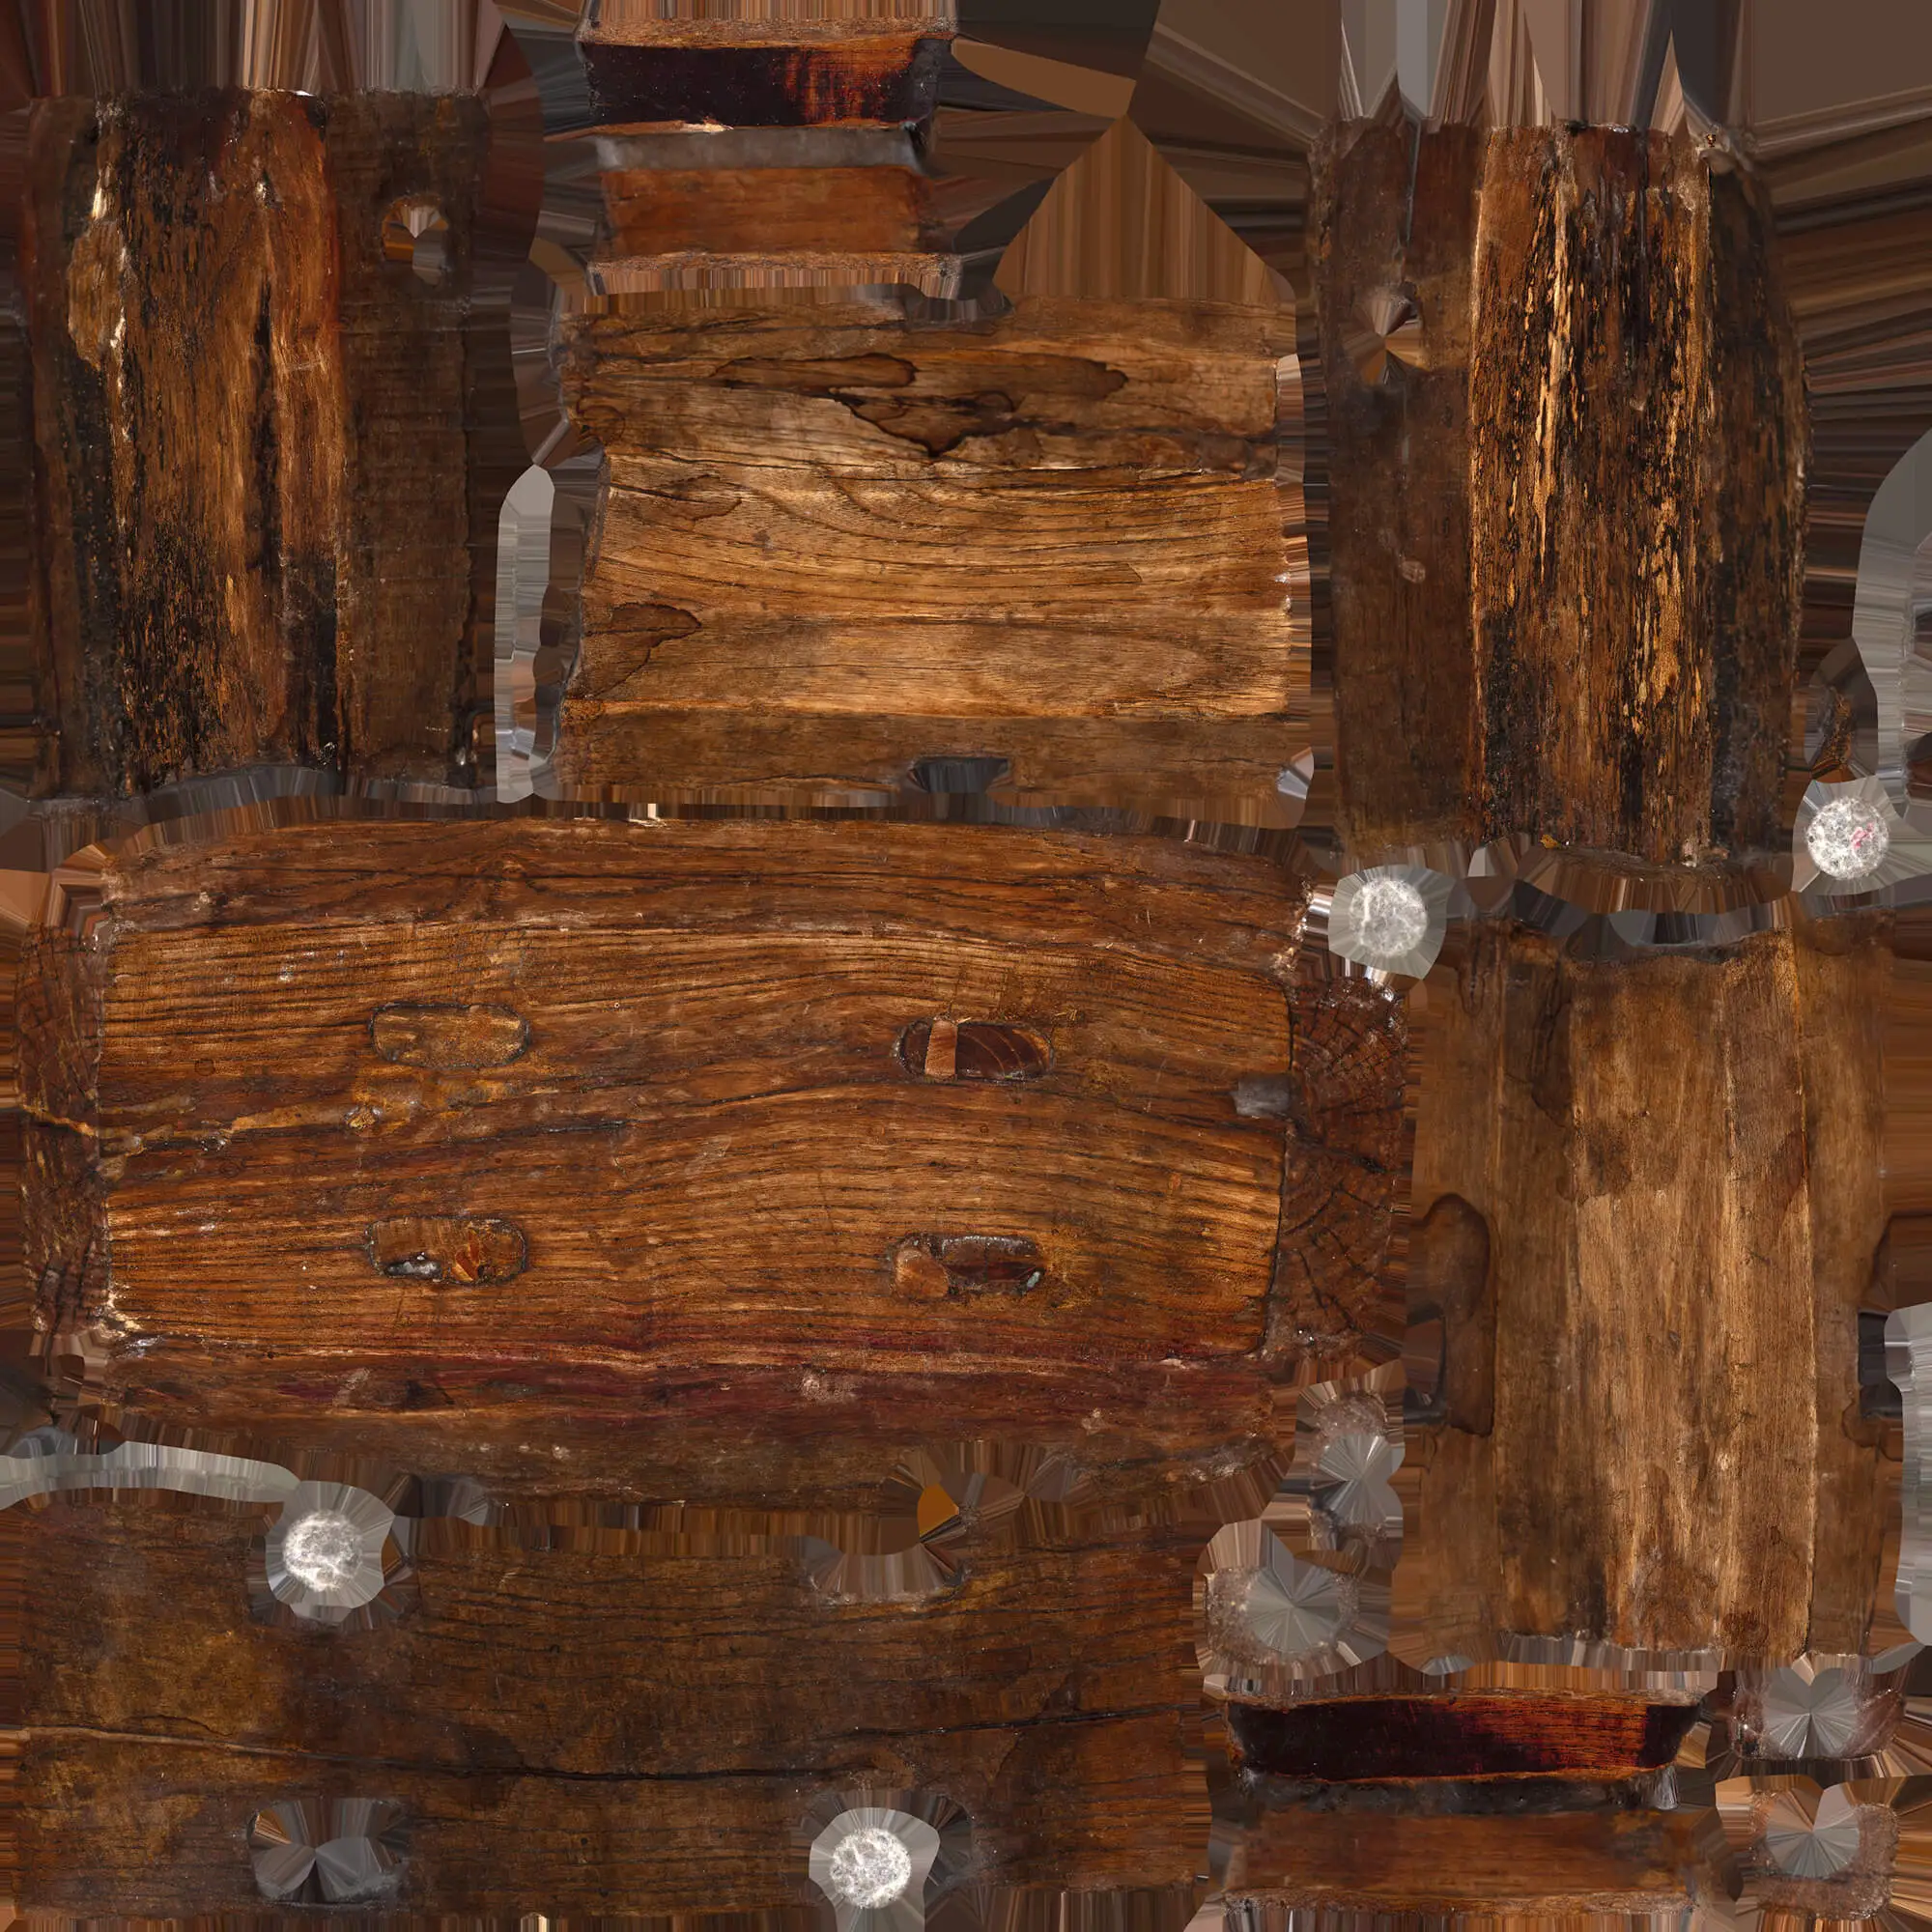
Rustic wooden stool – AO & Normal Maps bring depth to every notch
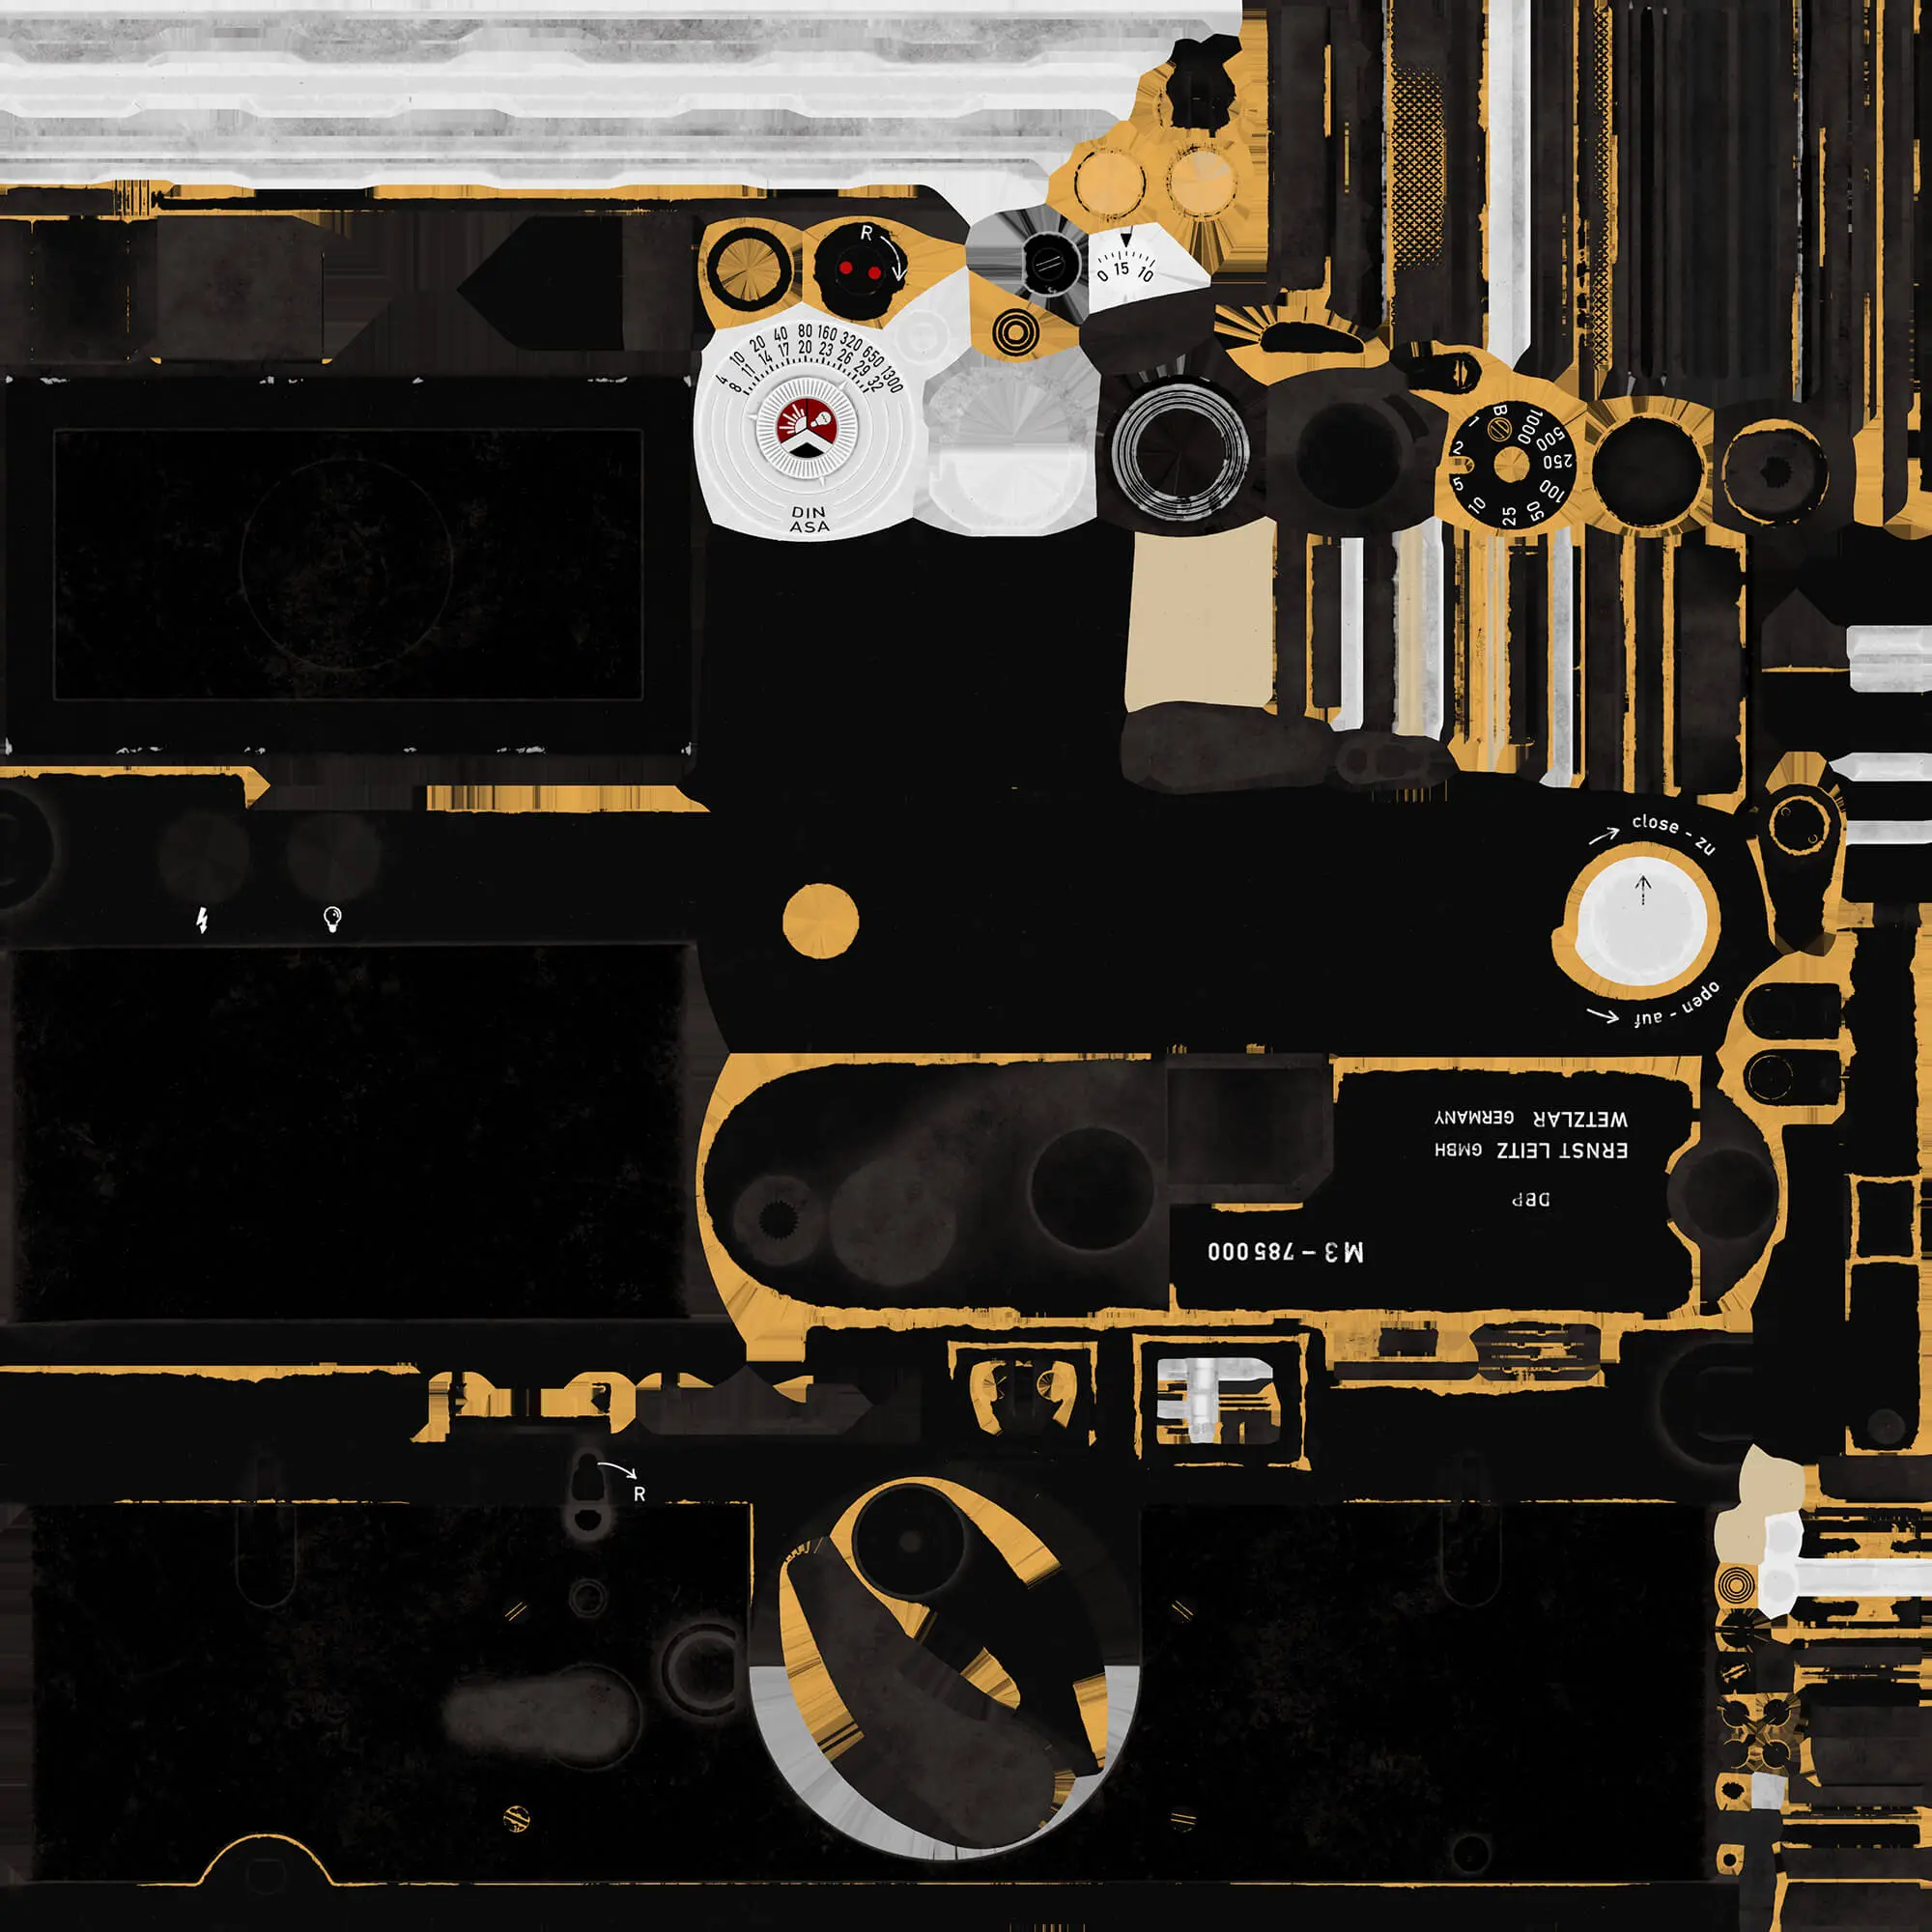
Vintage camera – baked patina & Lightmaps for fine shiny edges

From Technical Term to Visual Experience
We don't just use these technologies; we master them. See how we create photorealistic worlds for leading brands.
View WorkWhy is this relevant for marketing?
- Faster iterations: Color changes, material updates, or CI adjustments are quicker because basic shadows and details are already “in place.”
- Real-time performance: Web viewers, AR apps, or configurators benefit from baked light/AO maps.
- Same look across all channels: Once baked, the same everywhere – e-commerce, print, social.
- Cost-efficient: Less rendering time = less budget for pure computing power.
Mini-Comparison: Baking vs. “on the fly”
How Texture Baking Works
1. Create clean UVs
- Before we even bake, we create clean UV maps without overlaps (exception: deliberate tiling). This is the only way to ensure that AO, light or normal map information ends up in the right place on the mesh without artifacts. You cantest whether your textures are really seamlessly repeatable with our tileable texture checker.
You can find out more about model and UV preparation under 3D modeling.
2. High → Low Transfer
- We bake normal, AO and curvature maps from the highly detailed model onto the optimized low-poly geometry. In this way, subtleties remain visible without increasing the poly count. We show how these maps are used in shaders in the blog article Shaders for photorealistic CGI.
3. Check & Subtly Mix Light/AO Maps
- Baked light and AO maps add depth and define contact areas. We use them in a targeted and subtle way so that there are no "dirty" edges and the brand look remains clean. You can get an overview of the entire process on our 3D visualization page.
4. Export for PBR/Realtime Formats
- We export finished maps in formats such as glTF, USDZ or FBX - including clean PBR parameters (Albedo, Roughness Map, Metallic, Normal). This ensures consistent results in render pipelines and real-time configurators. Find out more under Material & Surface Digitization.
5. Implementation in the Viewer or Shop
-Finally, we integrate the assets into viewers, online stores or AR tools. Baked textures keep loading times low and preserve the look on all channels. We show how this works in practice in 3D product visualization - Product.
Texture Baking Checklist
FAQ - Texture Baking
Do I need Texture Baking if I use Ray Tracing?
Not always. Ray Tracing calculates light physically correctly – but Baking remains useful for preparing AO or static lighting effects for real-time viewers. More on this under Ray Tracing.
Which maps should I bake at a minimum?
For PBR workflows: Normal Map, optional AO. Curvature/Thickness help with masking. See Physically Based Rendering (PBR).
How do I prevent artifacts during baking?
Clean UVs, sufficient padding, cage for normal beacon and 16-bit/32-bit files for lightmaps.
Is AO better baked or dynamic (SSAO)?
For Stills/Packshot Renderings: baked. For interactive AR/VR: often SSAO – depending on performance budget. Background: Ambient Occlusion (AO).
What resolution and bit depth should I choose for baked maps?
For web viewers, 1–2k textures are often sufficient, but for close-ups or print, it's better to use 4k+. You should bake AO and lightmaps in 16-bit (or 32-bit float) to avoid banding – the reason why is explained in Baking Normal Maps on the GPU (https://developer.nvidia.com/gpugems/gpugems3/part-iv-image-effects/chapter-22-baking-normal-maps-gpu).
How do I prevent visible seams and artifacts during normal map baking?
Clean UVs, sufficient padding, correctly set hard edges, and a well-created cage mesh are essential. You can find details about the 'skew' problem and cage offsets in the Polycount Baking Guide.
When and why do I use a cage?
A cage prevents rays from hitting the wrong geometry during baking. A small offset (1–2% of the model's size) is a good starting value. You can see how it's done in the Toolbag Baking Tutorial.
Can I automate and batch bake in Substance?
Yes. Substance Painter offers automatic baking for multiple maps per mesh and via presets. Read more about it at Baking in Substance 3D Painter.
Which formats are suitable for PBR assets on the web or for AR?
For AR/iOS, USDZ is the standard – you can find info at USDZ for ARKit. For web/viewers, glTF/GLB (Khronos) is recommended – you can optionally add this to another FAQ.
Distinction: AO Map vs. Lightmap – what do I bake when?
AO captures micro-shadows in corners (for more depth), while lightmaps store complete lighting for static scenes. Ray tracing doesn't automatically replace lightmaps – see Baking Normal Maps on the GPU.
Do I still need texture baking if I use ray tracing?
Ray Tracing calculates light physically correctly. Nevertheless, baked AO/Lightmaps are valuable for real-time applications or fast web viewers. Background and workflow tips: Polycount Baking Guide.