
What is a Metalness Map?
CGI Visualization to Perfection
Danthree Studio turns complex 3D tech into high-converting marketing assets. Get high-end quality for your brand.
Start ProjectWhat is a Metalness Map?
Definition of the Metalness Map
A metalness map (metallic map) is a black-and-white texture used in physically based rendering.
- White (1) = metal → fully reflective, no intrinsic color.
- Black (0) = dielectric → diffuse color + Fresnel glare.
- Grayscale is considered a special case (tarnished metal) and should be used sparingly.
Why is "metalness" important?
Examples of Metalness Maps
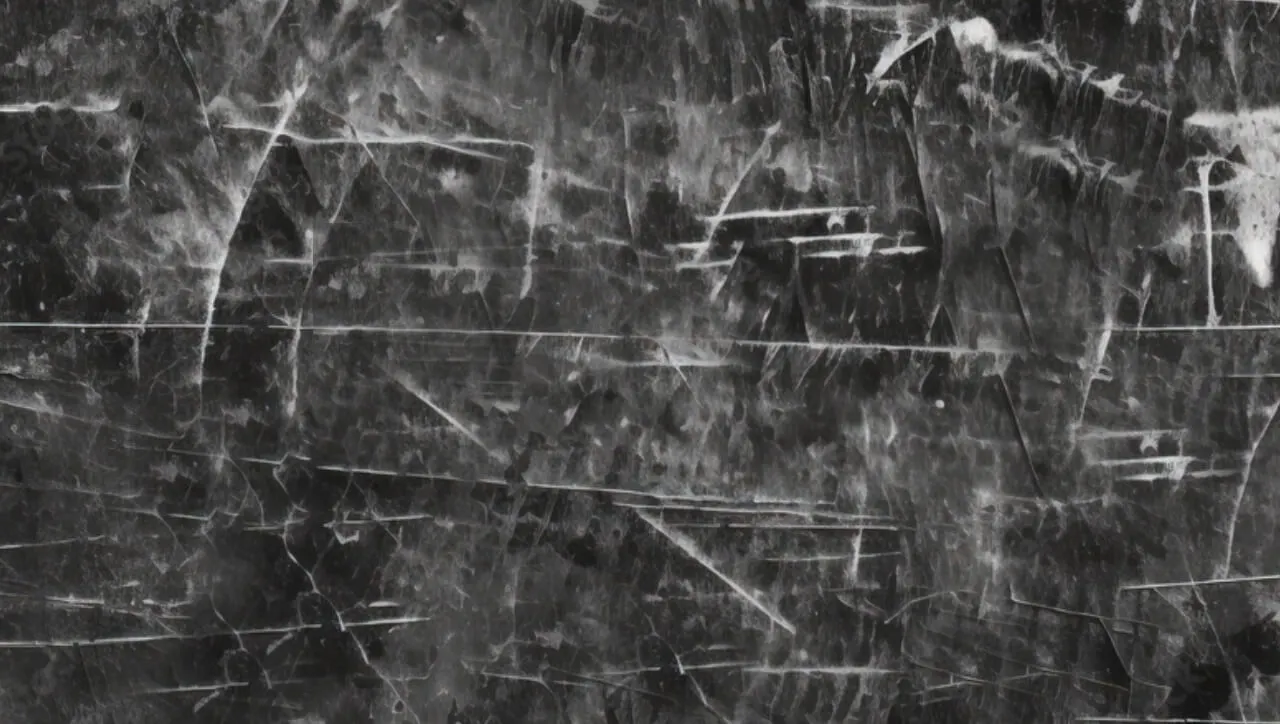
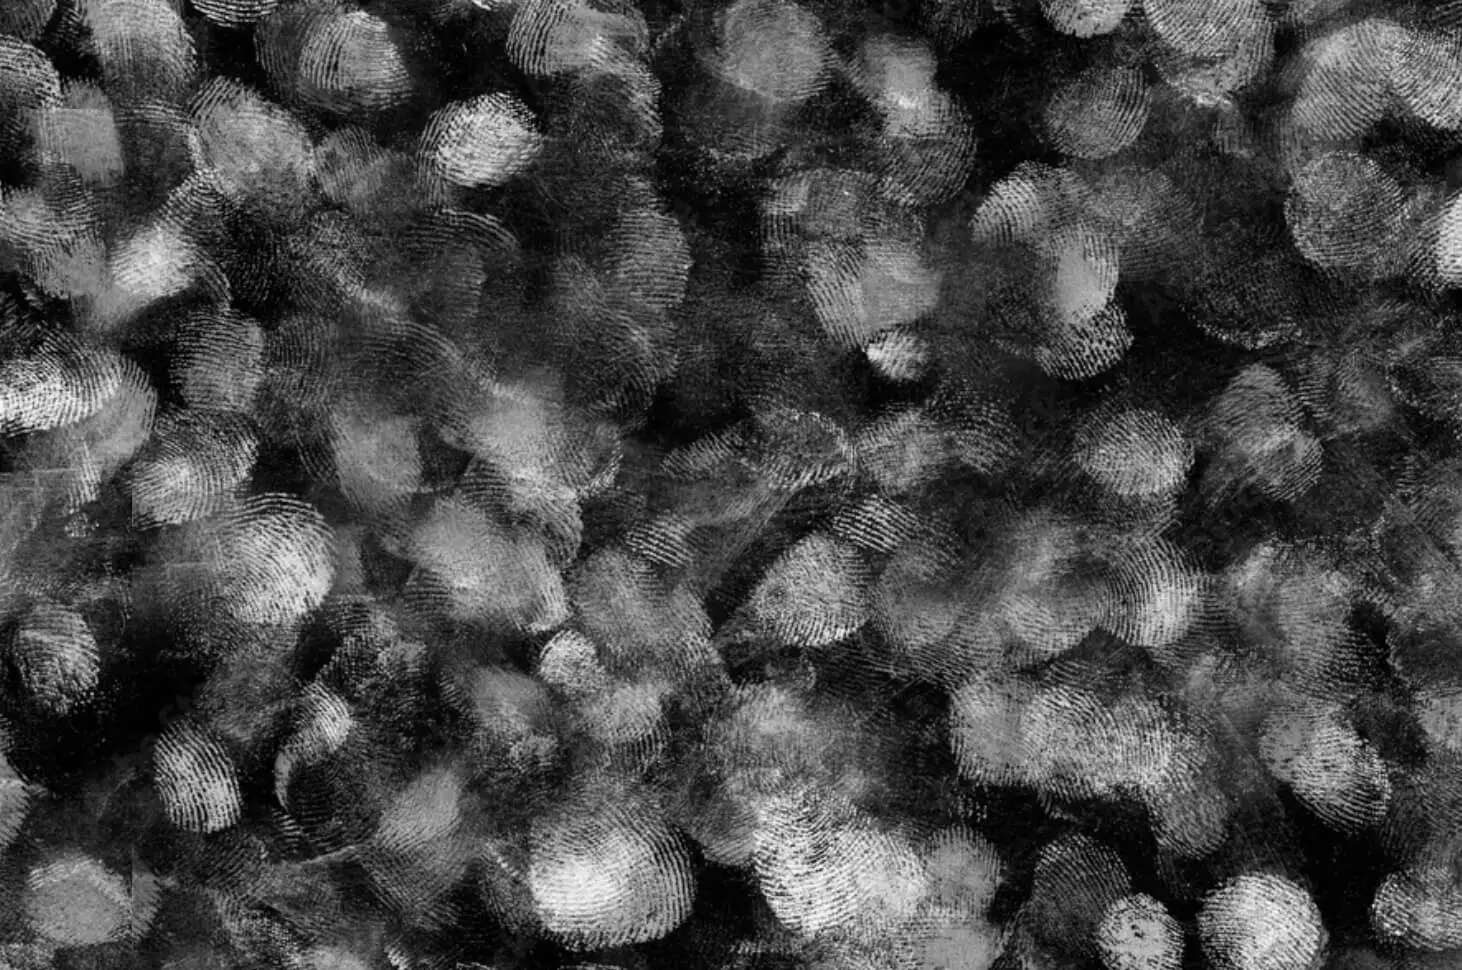
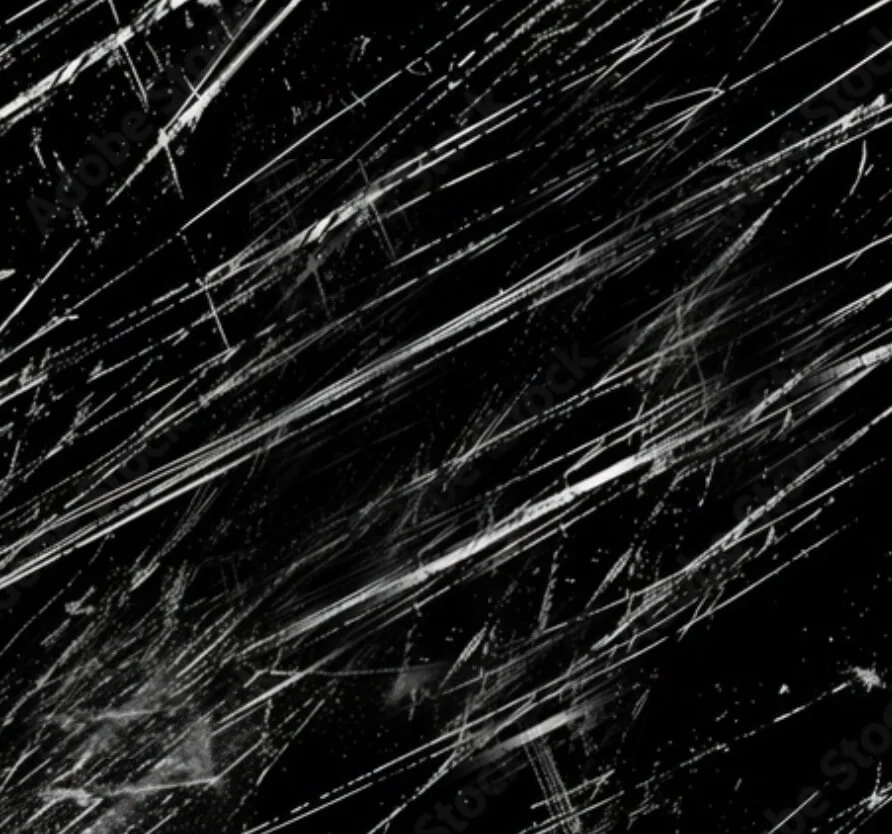
In a Metalness Map, “real” conductive areas (value 1 = white) are clearly separated from non-conductive areas (value 0 = black). Grayscale values play no role here; only a hard 1-bit contrast ensures that PBR shaders reflect or scatter light correctly. The following masks show typical use cases—from brushed aluminum to fingerprints on stainless steel. If you want chips or scratches to not only shine but also actually show a height difference, combine the mask with a displacement map.

From Technical Term to Visual Experience
We don't just use these technologies; we master them. See how we create photorealistic worlds for leading brands.
View WorkPractical Workflow for Metalness Maps – Step by Step
1. Create clean UVs
Before you even think about the Metalness mask, the UV mapping has to be correct—no overlaps, enough padding, and logically placed cuts. This is the only way to ensure that the 1-bit mask remains free of “metal artifacts” later on. For more information, see the glossary entry on UV mapping.
2. Prepare the High-Poly → Low-Poly Transfer
You can model—or scan—metal edges, milled surfaces, or screw heads in high-poly. Then you create an optimized low-poly mesh onto which you bake normal maps, AO, and metalness. The article “Texture Baking” explains why baking saves time.
3. Creating a "Metal" Look in the Baking Engine
- Substance 3D Painter: Set up a "Metallic" channel in the Export Settings, enable the Metallic/Roughness template, and bake a pure black-and-white mask.
- Marmoset Toolbag: Set Metalness Output to “Tangent Space” + “Alpha Disabled” to avoid banding in 8-bit files.
- Adobe describes the workflow in detail in the "Metallic/Specular Workflow" section of the standard material documentation.
4. tonal value check & 1-bit correction
A metalness map is strictly binary: 0 = dielectric, 1 = metal.
- Gray levels between 0.2 and 0.8 produce unrealistic semiconductor-like appearances.
- So set a high threshold (e.g., Levels → Input 0.5) and save as an 8-bit PNG to keep the alpha channel intact.
5. Shader Setup in the PBR Material
Import the map into your PBR material (e.g., the "Metallic" slot in Blender's Principled BSDF ). Always combine it with roughness and normal maps —this is the only way to achieve a physically accurate overall material. Here's what these maps are all about:
6. Test the look development under HDR lighting
Test the material in at least three HDRIs: studio, outdoor, and interior. Does the metallic reflection remain consistent under every lighting condition? If not, check the following:
- Gamma Flag (sRGB Off)
- 8-bit banding (→ dithering)
- Incorrect UV Seams
7. release asset & maintain library
Once all the tests have been passed, the Metalness map will be added to your central asset library along with the other PBR textures. This ensures a consistent look across all rendering engines—the core promise of Physically Based Rendering.
Tip for Real-Time Engines
In Unity HDRP, you can place the metalness mask in the Mask Map alpha channel(R = Metallic, G = AO, B = Detail Mask, A = Smoothness). This saves memory and draw calls—see Unity’s Mask Map Workflow for details.
Quick Tips
FAQ – Roughness / Glossiness
What is a roughness map in a PBR material definition?
A pure grayscale texture: Black (0.00-0.25) stands for reflective, smooth microsurfaces, white (0.75-1.00) for rough, diffusely scattering surfaces. You can find a clear explanation in the spline guide to Bump & Roughness.
How does roughness differ from glossiness?
Both describe the same phenomenon, but in reverse: Glossiness = 1 − Roughness. Modern engines such as Unreal or Three.js use the Metal/Roughness workflow, while older workflows (e.g., in 3ds Max) use Specular/Glossiness —see the 3ds Max documentation. In Three.js, Roughness is documented directly in the MeshStandardMaterial API.
Does a roughness map have to be saved in linear or sRGB format?
Always linear. If interpreted as sRGB, gamma distorts the brightness values, and highlights become milky.
How do I determine the correct texel density for roughness maps?
For real-time viewers, 8-16 px/cm is usually sufficient. For high-end renders or packshot renderings, you should select ≥ 32 px/cm to avoid banding.
Can I save both metallic and roughness in the same texture?
Yes. Typical "ORM" workflow: R channel = metalness, G = roughness, B = AO. This saves memory and draw calls.
How do I convert glossiness textures to roughness?
Open the 8-bit glossiness map in the editor and invert it (100% Invert)—or simply calculate 1 − glossiness in the shader.
Which image formats are suitable for roughness maps?
- BC7 (DXT) for Desktop/WebGL - high-end, hardly any blocking
• ASTC 6×6 for mobile/WebGPU
• PNG (lossless) only if you absolutely don't want any compression. You can find a comparison in this BlenderArtists discussion.
Why does my metal look plastic even though Metallic = 1?
Often, the roughness map is too light or contains color or JPEG artifacts. This causes reflections to be subdued, and the material takes on a “plastic-like” appearance.
How do I realistically simulate micro-scratches?
Create scratches in a detail normal map and combine them with a scratch roughness mask. The intensity of the scratches can be adjusted using a slider.
Can a roughness map contain color?
No. It must be strictly grayscale; color pixels produce uncontrolled specular glare.
How do I measure real roughness values?
Using a reflectometer or software analysis of a 99% gloss reference sphere under standardized lighting (e.g., with the MaterialX Analyzer).
Does a 4K roughness map affect performance?
Only indirectly: Larger textures increase VRAM usage and load times, but the actual shader computation load remains the same.